
 Bookmark
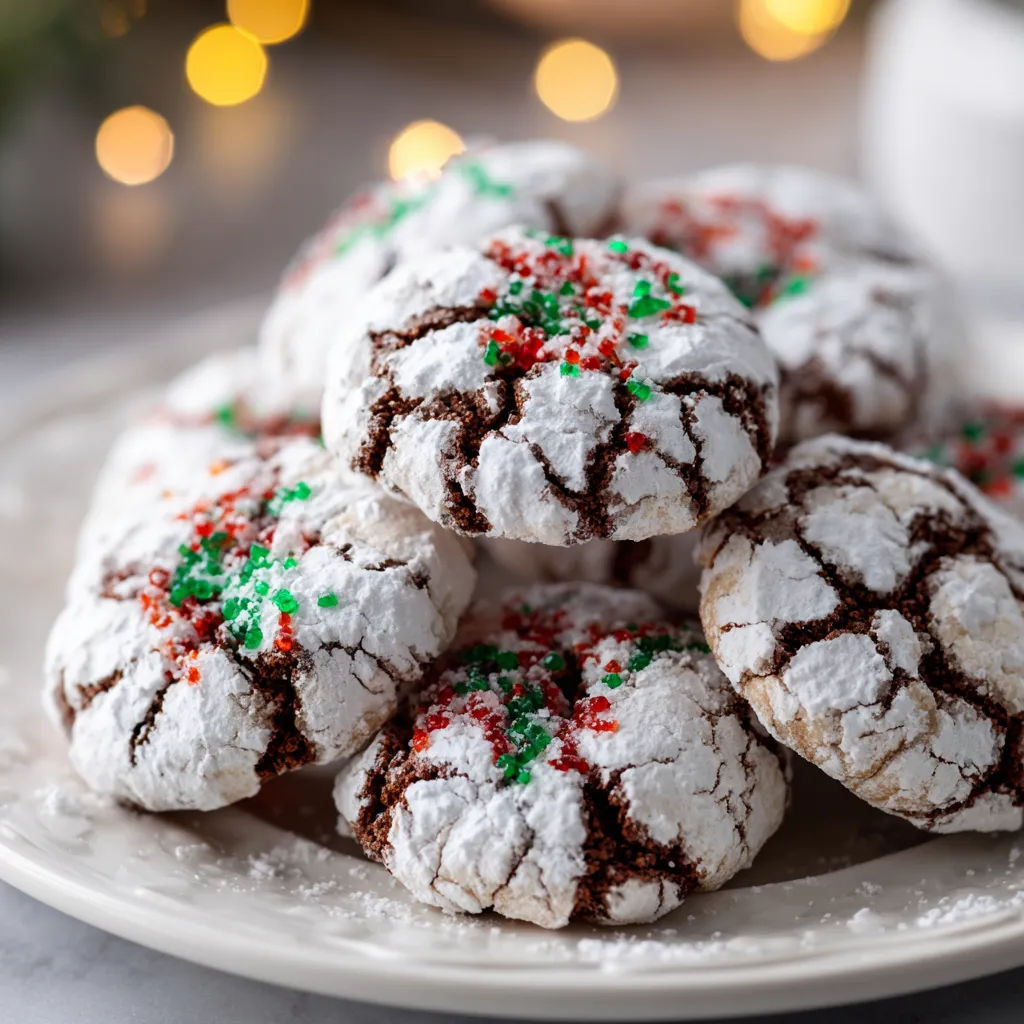
This festive Christmas Crinkle Cookies recipe brings vibrant color to your holiday cookie trays with minimal effort. These eye-catching treats feature a perfectly crackled appearance with bright red and green colors that instantly add Christmas cheer to any dessert spread.
I discovered this recipe during a particularly hectic holiday season when I needed something impressive but simple. Now these colorful crinkles have become the cookies my nieces and nephews look forward to decorating the Christmas tree.
Ingredients
- White cake mix provides the perfect blank canvas for our festive colors and saves significant preparation time
- Eggs bind everything together while creating that perfect crinkle texture when baked
- Vanilla extract adds that warm cookie flavor that complements the sweetness
- Vegetable oil keeps the cookies soft and moist for days
- Wilton food coloring gels offer vibrant colors without thinning the dough like liquid colorings
- Powdered sugar creates the beautiful crackle effect and adds a touch of sweetness
Step-by-Step Instructions
- Prepare the Oven and Baking Sheet
- Preheat your oven to 375 degrees Fahrenheit. Line your baking sheet with either parchment paper or a silicone baking mat to prevent sticking and ensure easy cleanup.
- Mix the Base Dough
- Combine the boxed cake mix, eggs, vanilla extract, and vegetable oil in a large mixing bowl. Mix thoroughly until you have a smooth, slightly sticky dough. The consistency should be thick but workable. Take your time here to ensure all the cake mix is fully incorporated.
- Create Colored Dough
- Divide your dough evenly between two separate mixing bowls. Add red food coloring gel to one portion and green to the other. Start conservatively with just a few drops, then add more as needed until you achieve vibrant Christmas colors. Mix each thoroughly until the color is completely uniform with no streaks.
- Chill the Dough
- Refrigerate both portions of colored dough for at least 30 minutes. This crucial step makes the dough easier to handle and results in fluffier, thicker cookies that hold their shape better during baking. Do not skip this refrigeration step.
- Shape and Coat Cookies
- Using a medium cookie scoop for consistency, portion out the chilled dough. Roll each scoop between your palms to form a smooth ball, then thoroughly coat in powdered sugar. Place on your prepared baking sheet, leaving about 2 inches between each cookie to allow for spreading.
- Bake to Perfection
- Bake at 375 degrees for 9 to 11 minutes. The cookies are done when they have spread, crackled on top, but still appear slightly soft in the center. Allow them to cool on the baking sheet for 1 to 2 minutes before transferring to a wire rack to cool completely.
 Bookmark
The vibrant red and green colors never fail to bring me back to childhood Christmas memories. I still remember my grandmother making similar cookies, though her version took twice as long. The food coloring gel is truly the secret weapon here I learned the hard way that liquid food coloring can make the dough too runny.
Storage Tips
These crinkle cookies will maintain their soft texture for 4 to 5 days when stored in an airtight container at room temperature. Place a piece of bread in the container to keep them extra moist. For longer storage, these cookies freeze beautifully for up to 3 months. Layer them between sheets of parchment paper in a freezer container, then thaw at room temperature when ready to serve.
Troubleshooting Sticky Dough
If you find your dough too sticky to work with even after refrigeration, add flour one tablespoon at a time until it reaches a workable consistency. The stickiness can vary depending on the brand of cake mix used, humidity in your kitchen, or how the ingredients were measured. Be careful not to add too much flour, which can make the cookies dry.
Serving Suggestions
These vibrant cookies make a stunning addition to a holiday cookie platter alongside traditional options like sugar cookies and gingerbread. For a special Christmas Eve treat, arrange them on a decorative plate with a glass of milk for Santa. They also make beautiful gifts when stacked in clear cellophane bags tied with festive ribbon.
Creative Variations
While the classic Christmas red and green are traditional, you can adapt this recipe for any holiday or event. Try red, white and blue for Independence Day, school colors for graduations, or pastels for Easter or baby showers. You can also experiment with different cake mix flavors like chocolate or strawberry as your base.
Recipe Q&A
- → Can I use different food coloring brands for these cookies?
Yes, you can use any brand of food coloring gel. Gel coloring is recommended over liquid food coloring as it provides more vibrant colors without altering the dough consistency. If using liquid coloring, you may need to add a bit more flour to compensate for the extra moisture.
- → Why do I need to chill the dough?
Chilling the dough for at least 30 minutes serves two important purposes: it makes the dough less sticky and easier to handle when rolling into balls, and it helps the cookies bake up fluffier with better texture. Don't skip this step for best results.
- → Can I freeze these cookie dough balls for later?
Absolutely! Roll the dough balls, coat in powdered sugar, then place on a baking sheet in the freezer until firm. Transfer to a freezer bag and store for up to 3 months. When ready to bake, place frozen dough balls on a baking sheet and add 1-2 minutes to the baking time.
- → What if my dough is too sticky to work with?
If your dough remains too sticky even after chilling, add about 1 tablespoon of all-purpose flour at a time, mixing well, until the dough reaches a workable consistency. Be careful not to add too much flour, as it can make the cookies dry.
- → Can I make these cookies in other colors for different holidays?
Definitely! These versatile cookies can be adapted for any holiday or occasion by changing the food coloring. Try red and blue for 4th of July, pastel colors for Easter, or your favorite team colors for game day celebrations.
- → How do I store these cookies and how long do they last?
Store cooled cookies in an airtight container at room temperature for up to 5 days. For longer storage, freeze in a single layer, then transfer to a freezer container with parchment between layers. Frozen cookies will keep for up to 3 months.