
 Bookmark
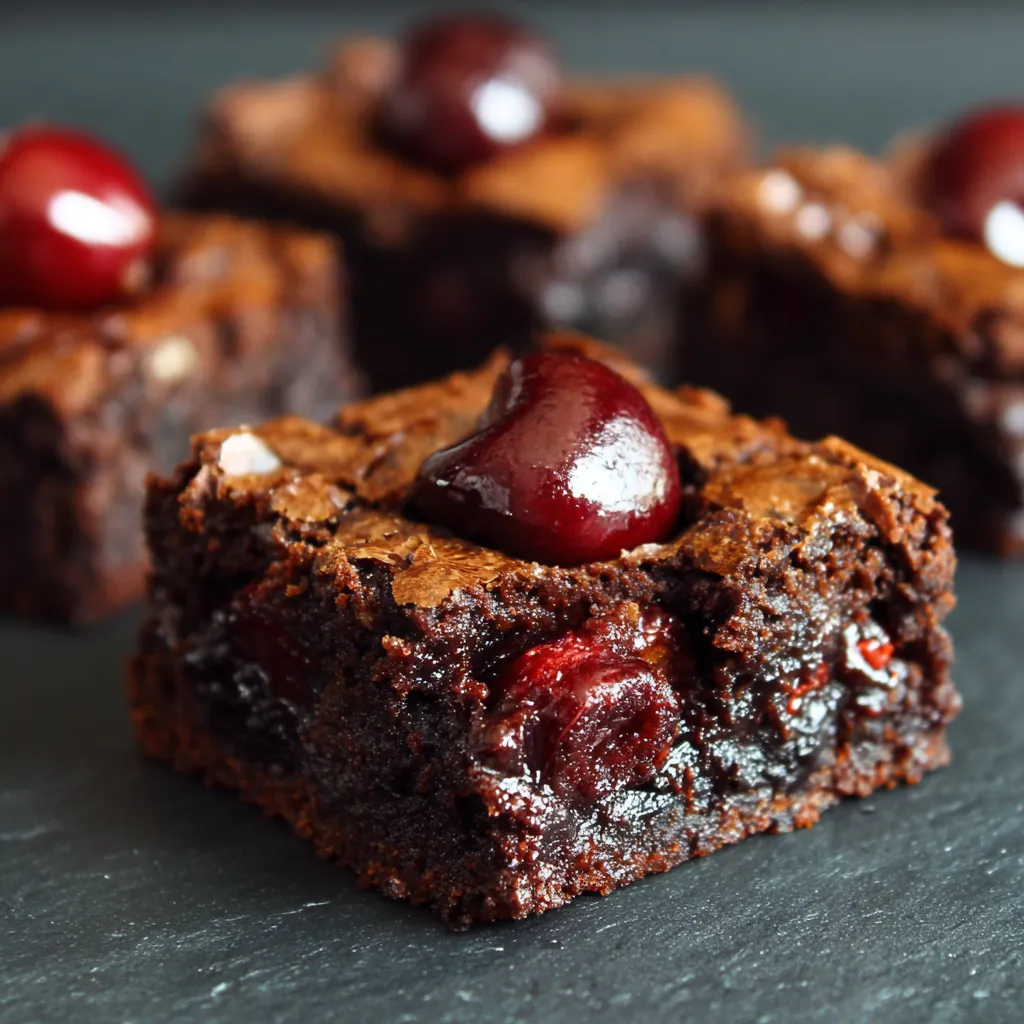
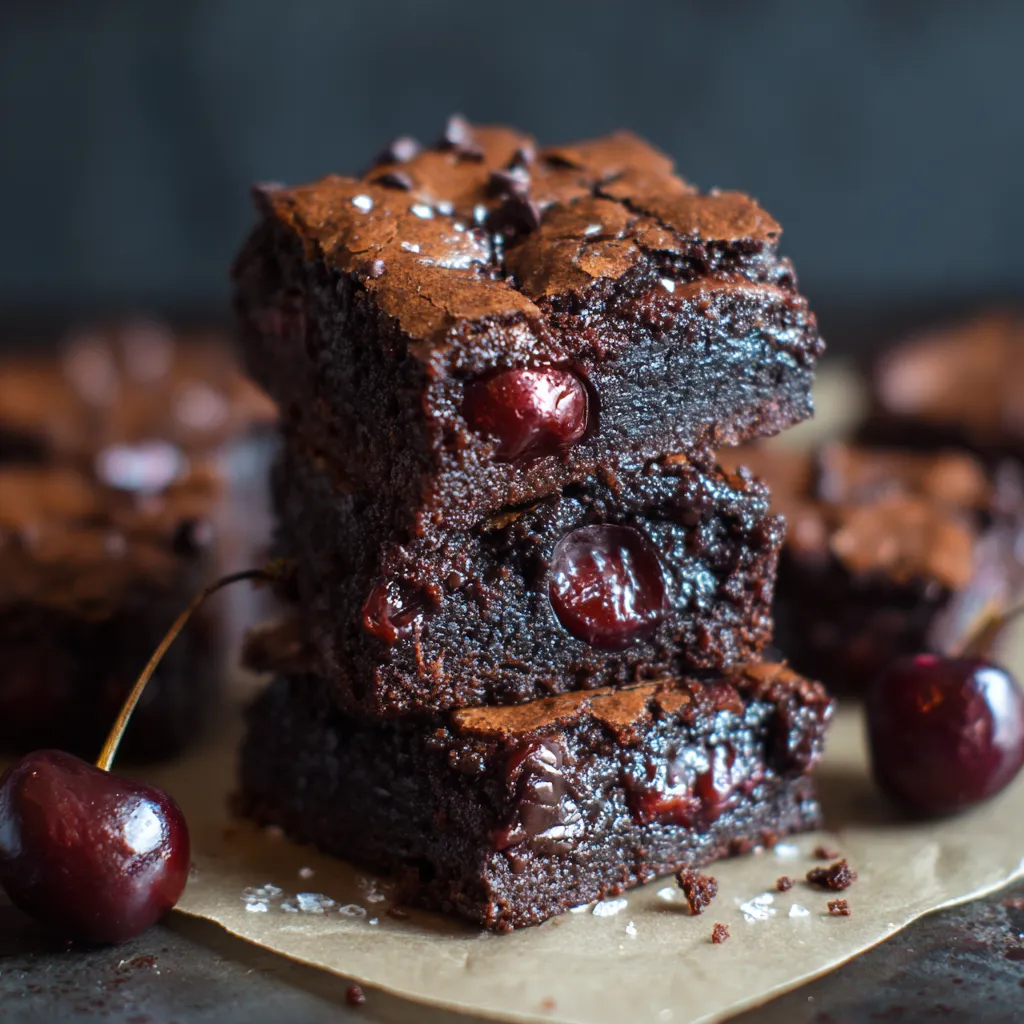
This decadent roasted chocolate cherry brownie recipe transforms ordinary brownies into a gourmet dessert experience. The roasting process intensifies the cherry flavor, creating pockets of tart sweetness against the rich chocolate background.
I first made these brownies for a friend's birthday gathering when fresh cherries were in season. The combination of chocolate and roasted cherries received so many compliments that it's now my signature dessert for special occasions.
Ingredients
- White granulated sugar powers the sweetness while helping create that perfect crackly top
- Large eggs plus an extra yolk create that fudgy dense texture that makes these brownies irresistible
- Unsalted butter gives richness while allowing you to control the salt level
- Vegetable oil ensures moisture retention for days after baking
- Pure vanilla extract enhances the chocolate flavor look for Madagascar vanilla if possible
- All purpose flour use unbleached for best results
- Dutch process cocoa powder delivers a deeper darker chocolate flavor than natural cocoa
- Cornstarch is the secret to extra tender brownies
- Salt amplifies all flavors especially the chocolate
- Semi sweet chocolate chips provide pockets of melty chocolate throughout
- Fresh cherries become jammy and concentrated when roasted
Step-by-Step Instructions
- Roast the Cherries
- Preheat your oven to 400°F and line a baking sheet with parchment paper. Wash pit and halve your cherries then spread them across the parchment paper in a single layer. Sprinkle lightly with sugar to help caramelize. Roast for exactly 10 minutes until they release their juices but still hold their shape. Allow to cool completely while preparing the brownie batter.
- Prepare the Baking Pan
- Turn down your oven temperature to 325°F. Thoroughly spray an 8x8 baking pan with nonstick spray. Line the bottom and two sides with parchment paper creating handles that extend above the pan. This double insurance guarantees your brownies will release perfectly. Apply another light coat of spray over the parchment.
- Mix Dry Ingredients
- In a medium bowl sift together the flour cocoa powder cornstarch and salt. Sifting is crucial as cocoa powder tends to clump resulting in dry pockets in your finished brownies. Set this mixture aside while you work on the wet ingredients.
- Whip the Eggs
- Using a stand mixer with whisk attachment beat the sugar eggs and egg yolk on high speed for a full 5 minutes. This extended mixing creates the characteristic shiny crackly top on brownies. The mixture should become pale and thick leaving ribbons when the whisk is lifted.
- Combine Wet Ingredients
- While the eggs are whipping melt the butter and allow it to cool slightly. Add the melted butter oil and vanilla to the whipped egg mixture and mix on low speed just until combined. Overmixing at this stage can deflate the air incorporated during the egg whipping.
- Incorporate Dry Ingredients
- Remove the bowl from the mixer. Add the dry ingredients to the wet mixture. Using a rubber spatula fold everything together with gentle sweeping motions. Fold just until no dry streaks remain to preserve the air bubbles that create the perfect texture.
- Add Mix-ins
- Divide your roasted cherries into two equal portions. Fold half the cherries and all the chocolate chips into the batter with minimal mixing. The goal is even distribution without deflating the batter.
- Bake to Perfection
- Pour the batter into your prepared pan and spread evenly with an offset spatula. Bake for 40 to 50 minutes. The brownies are done when the edges are set but the center still looks slightly underdone. Immediately sprinkle additional chocolate chips on top they will melt from the residual heat.
- Chill and Serve
- Allow the brownies to cool completely in the pan. For clean cuts freeze the brownies for 15 minutes before removing from the pan using the parchment handles. Top with the remaining roasted cherries before cutting into squares.
 Bookmark
These brownies remind me of summer evenings with my grandmother who always paired chocolate with fruit. The first time I roasted cherries I was amazed at how it concentrated their flavor while maintaining their beautiful color something that makes these brownies as visually striking as they are delicious.
Cherry Selection Tips
The best cherries for this recipe are dark sweet varieties like Bing or Sweetheart. Look for firm fruits with glossy skin and green stems which indicate freshness. During off seasons frozen cherries can work nearly as well just thaw and drain them thoroughly before roasting. The roasting process removes excess moisture and concentrates flavor making even slightly underripe cherries work beautifully.
Make Ahead and Storage
These brownies actually improve with time as the flavors meld together. Store them in an airtight container at room temperature for up to 3 days or refrigerate for up to a week. For longer storage wrap individual brownies in plastic wrap then place in a freezer bag where they will keep for up to 3 months. Thaw at room temperature for about an hour before serving or microwave for 15 seconds for that justbaked warmth.
Serving Suggestions
While these brownies are spectacular on their own try serving them slightly warm with a scoop of vanilla bean ice cream. The contrast between warm brownie cold ice cream and the roasted cherries creates an unforgettable dessert experience. For dinner parties cut smaller squares and arrange on a platter with fresh cherries and mint leaves for a beautiful presentation that showcases the star ingredients.
Troubleshooting Tips
If your brownies turn out cakey rather than fudgy you likely overmixed the batter or baked them too long. Remember that brownies continue cooking as they cool so its better to underbake slightly. For extra insurance use an instant read thermometer the center should register between 175°F and 180°F for perfectly fudgy results.
Recipe Q&A
- → Can I use frozen cherries instead of fresh?
Yes, you can use frozen cherries, but thaw and drain them thoroughly first to remove excess moisture. They may not need as much roasting time as fresh cherries, so check them after 5-7 minutes in the oven.
- → Why do the brownies need to be frozen before cutting?
Freezing the brownies for 15 minutes helps firm them up, making it easier to get clean cuts. Since these brownies are particularly fudgy, this step prevents them from becoming too messy when sliced.
- → Can I substitute regular cocoa powder for Dutch process?
While you can substitute regular cocoa powder, Dutch process cocoa creates a deeper chocolate flavor and darker color. If using regular cocoa, consider adding 1/8 teaspoon of baking soda to neutralize the acidity.
- → How should I store these brownies?
Store in an airtight container at room temperature for up to 3 days, or refrigerate for up to a week. You can also freeze them for up to 3 months. If freezing, separate layers with parchment paper.
- → Why is cornstarch added to the brownie batter?
Cornstarch helps create a tender, soft texture in the brownies. It also contributes to that perfect chewy center while allowing the edges to set properly during baking.
- → Can I add other mix-ins besides cherries?
Absolutely! Consider white chocolate chips, chopped nuts like walnuts or almonds, or even a swirl of cream cheese for variation. Just keep the total amount of mix-ins similar to avoid changing the brownie texture.