
 Bookmark
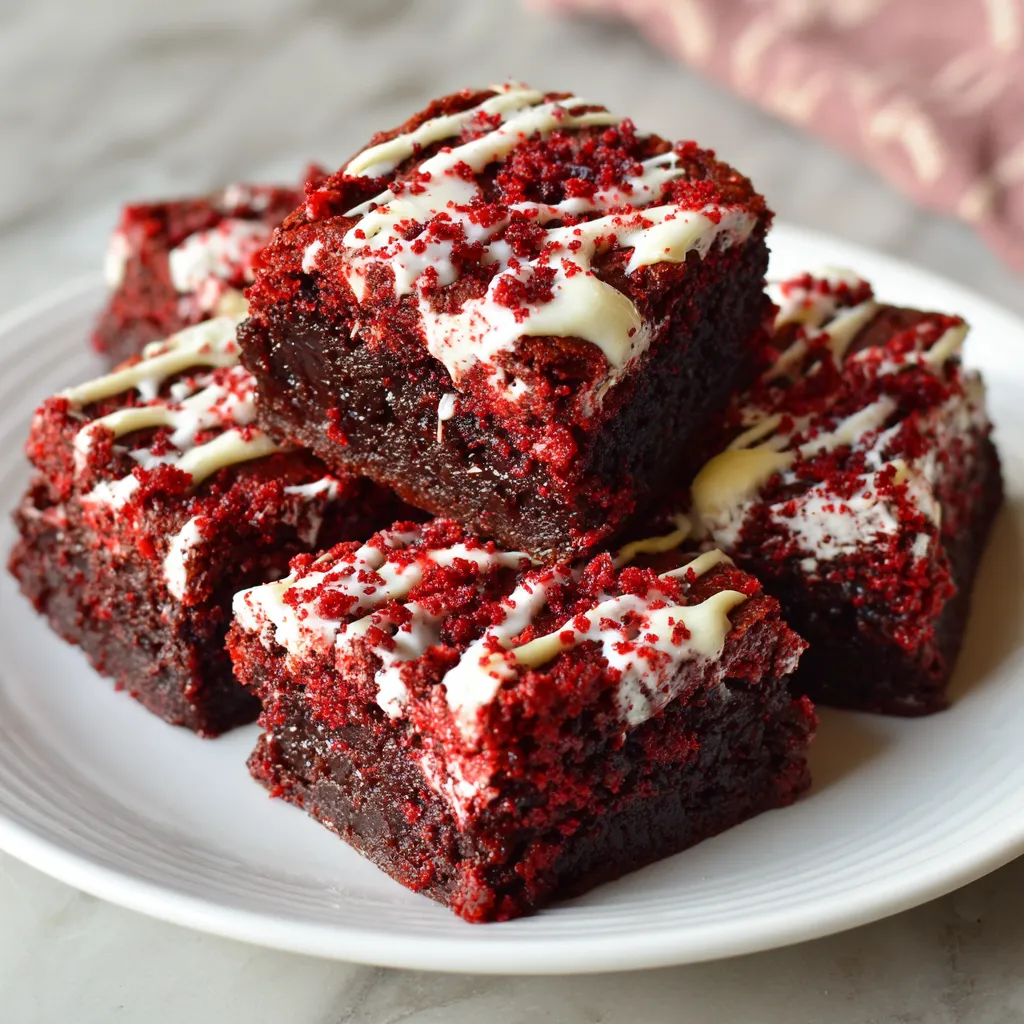
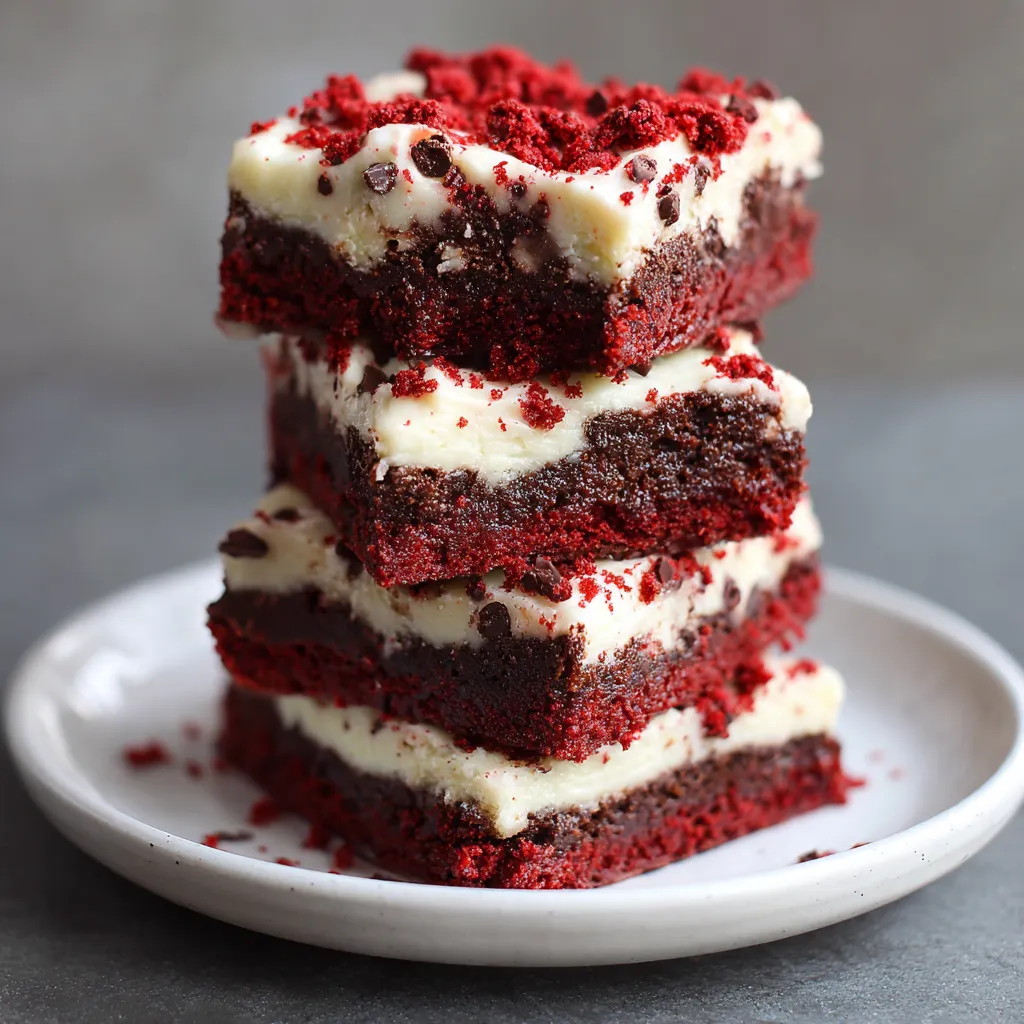
These chewy red velvet brownies with cream cheese frosting have been my secret weapon for potlucks and family gatherings for years. The rich chocolate flavor with that signature crimson hue creates an irresistible treat that disappears faster than I can serve them.
I first made these during a Valentine's Day celebration when I needed something other than the typical heart-shaped cookies. The vibrant red color and decadent taste made them an instant hit, and now they're requested for nearly every special occasion at our house.
Ingredients
- Melted butter creates a fudgier texture than using oil and gives these brownies their rich mouthfeel
- Brown sugar adds moisture and a subtle caramel undertone that complements the chocolate perfectly
- Granulated sugar provides structure and the classic crinkly brownie top we all love
- Eggs act as a binding agent and create that chewy texture
- Vanilla extract balances the cocoa and adds depth of flavor
- Red food coloring gives these brownies their signature vibrant hue
- White vinegar enhances the red color by reacting with the cocoa powder and adds moisture
- Cocoa powder provides the chocolate flavor without making the brownies too dense
- All-purpose flour gives structure while allowing for a tender crumb
- Cream cheese creates that tangy frosting that pairs perfectly with the sweet brownies
Step-by-Step Instructions
- Prepare Your Pan
- Line your 8×8 baking pan with parchment paper, leaving some hanging over the edges. This makes removing the brownies incredibly easy later and prevents any sticking to the pan. Preheat your oven to the perfect 350°F for even baking.
- Create The Base
- Melt your butter completely until no solid pieces remain. This is crucial for a smooth batter. Whisk in both sugars vigorously until you achieve a paste-like consistency that pulls away from the bowl sides. This step incorporates air and creates the foundation for that perfect chewy texture.
- Build The Flavor
- Add eggs, vinegar, vanilla, and red food coloring, whisking until fully incorporated. The batter should be vibrant and smooth at this point. Take your time here as proper mixing ensures even color distribution throughout your brownies.
- Incorporate Dry Ingredients
- Gently add the cocoa powder, salt, and flour, mixing just until combined. Overmixing develops gluten which makes brownies tough, so stop as soon as no dry patches remain. The batter should be thick and glossy with a deep red color.
- Bake To Perfection
- Spread the batter evenly in your prepared pan, getting into all corners. Bake for 30-40 minutes, starting to check at the 30-minute mark. The perfect brownie has a crinkly top and a toothpick inserted comes out with a few moist crumbs but no wet batter. This ensures fudgy centers.
- Create The Frosting
- Beat room temperature cream cheese and softened butter until smooth and fluffy. Gradually add powdered sugar until you reach the desired consistency. For dairy-free versions, the cornstarch helps stabilize the frosting. Make sure ingredients are truly at room temperature for the smoothest result.
- Assemble The Treat
- Allow brownies to cool completely before frosting. Patience is key here as warm brownies will melt your frosting. Apply an even layer of frosting, creating decorative swirls if desired. The contrast between the crimson brownie and white frosting makes for a stunning presentation.
 Bookmark
My favorite part of this recipe is the remarkable versatility of the base. My daughter has dairy allergies, and I was thrilled to discover that dairy-free butter substitutes work perfectly without compromising the texture or flavor. The first time I made these with dairy-free ingredients, my husband couldn't tell the difference, which is the ultimate test of a good adaptation.
Storage Solutions
These red velvet brownies will remain fresh in an airtight container in the refrigerator for up to 5 days. The cream cheese frosting requires refrigeration, but I recommend letting them sit at room temperature for about 15 minutes before serving for the best texture and flavor experience. For longer storage, you can freeze unfrosted brownies tightly wrapped in plastic and foil for up to 3 months. Thaw overnight in the refrigerator and frost before serving.
Ingredient Swaps
If you prefer a natural approach to the red coloring, you can substitute beet powder for the liquid food coloring. Start with 1-2 tablespoons and adjust as needed to achieve your desired color intensity. For those avoiding eggs, replace each egg with a flax egg by mixing 1 tablespoon ground flaxseed with 3 tablespoons water and letting it sit for 15 minutes before adding to your batter. The cocoa powder can be substituted with Dutch-processed cocoa for a deeper chocolate flavor, though the red color might be slightly less vibrant.
Serving Suggestions
These red velvet brownies make a stunning dessert when served slightly warm with a scoop of vanilla ice cream or a dollop of whipped cream. For special occasions, garnish with chocolate shavings, fresh berries, or a light dusting of cocoa powder. They also pair beautifully with coffee or milk for an afternoon treat. Consider cutting them into smaller bite-sized pieces for parties or large gatherings to allow guests to sample them alongside other desserts.
The History Behind Red Velvet
Red velvet has a fascinating culinary history dating back to the Victorian era when cocoa was treated with acid to create a reddish hue. During World War II, bakers used beet juice to enhance color due to rationing. The modern red velvet cake gained widespread popularity in the 1950s when the Adams Extract company began marketing their red food coloring with recipe cards. These brownies are a contemporary twist on this classic American dessert, combining the beloved red velvet flavor profile with the dense, chewy texture of a perfect brownie.
Recipe Q&A
- → Can I make these red velvet brownies without food coloring?
Yes, you can omit the red food coloring if preferred. The brownies will still have the classic chocolate flavor of red velvet, though they won't have the signature red appearance. For a natural alternative, some bakers use beet powder, though this may slightly alter the taste.
- → How do I know when the brownies are done baking?
The brownies are done when the top is crinkly and a toothpick inserted in the center comes out with a few moist crumbs (not wet batter). This typically takes 30-40 minutes. Avoid overbaking as this will make the brownies hard instead of chewy.
- → How should I store these red velvet brownies?
Because of the cream cheese frosting, frosted brownies should be stored in the refrigerator for up to 5 days. Alternatively, you can store unfrosted brownies at room temperature in an airtight container and keep the frosting refrigerated separately until serving.
- → What dairy-free substitutions work best for the frosting?
For dairy-free frosting, use dairy-free cream cheese and butter substitutes. Adding 2 tablespoons of cornstarch helps thicken dairy-free frosting to achieve the right consistency, as mentioned in the recipe notes.
- → Can I make these brownies in advance?
Absolutely! These brownies can be made 1-2 days in advance. For best results, store unfrosted brownies at room temperature in an airtight container, with frosting refrigerated separately. Frost just before serving, or store frosted brownies in the refrigerator.
- → Why is vinegar used in this red velvet brownie recipe?
The small amount of white vinegar is traditional in red velvet baked goods. It reacts with the cocoa powder to enhance the red color and adds a subtle tang that's characteristic of the red velvet flavor profile.