
 Bookmark
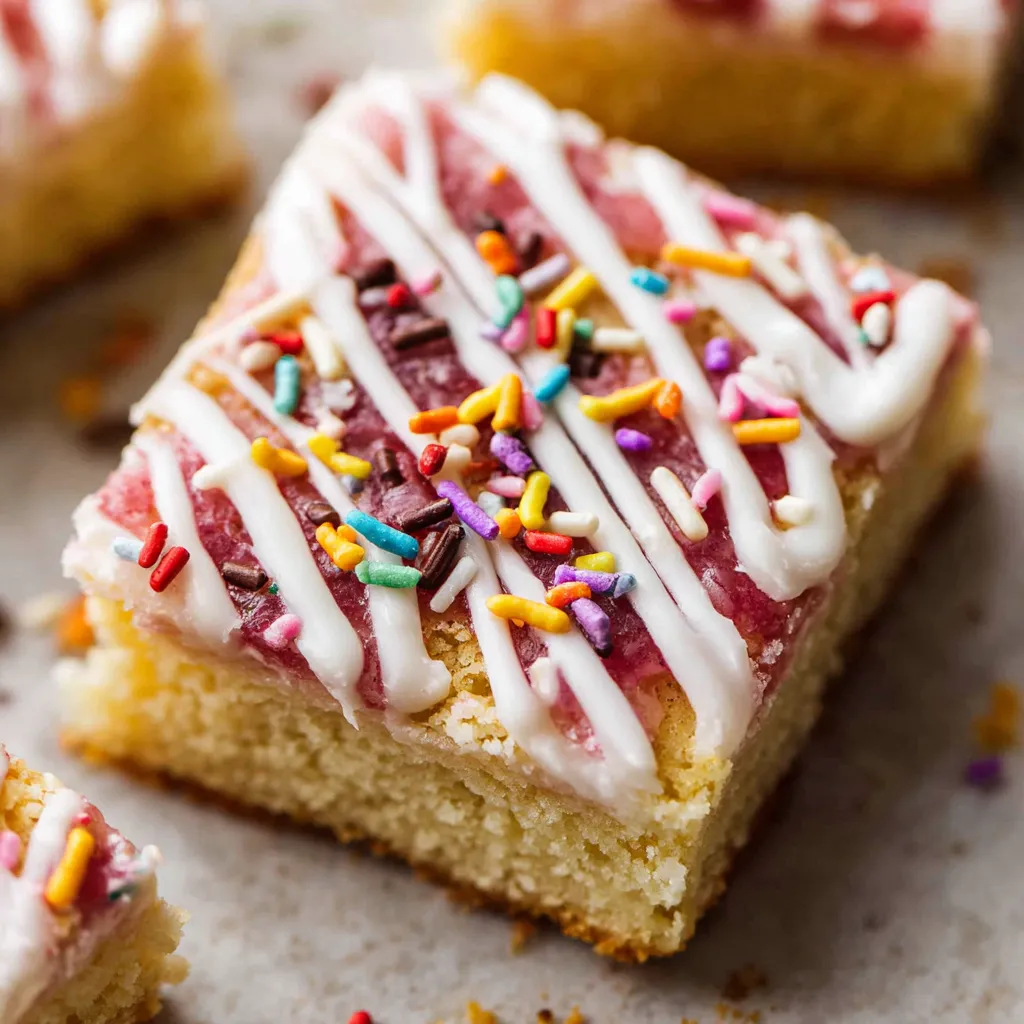
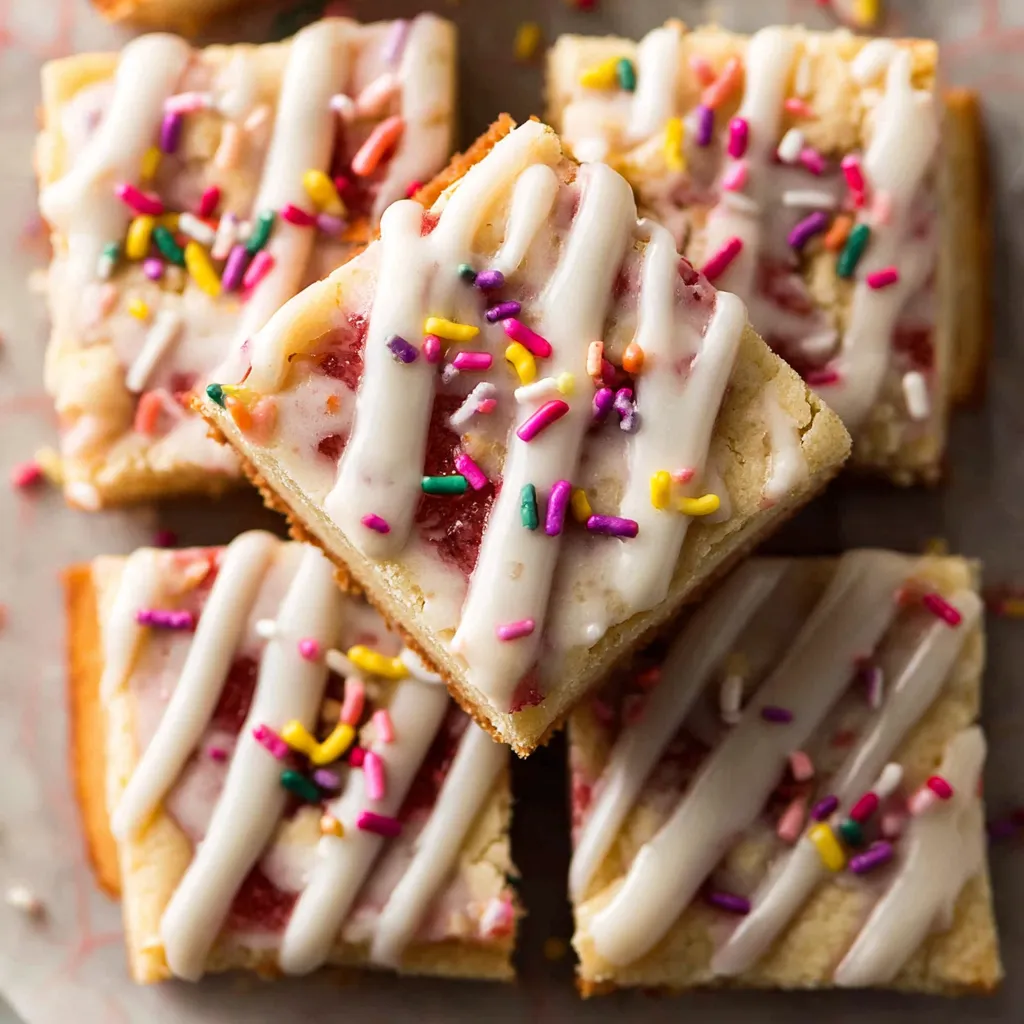
This hearty strawberry-filled poptart cookie bar transforms the nostalgic breakfast treat into a decadent dessert experience. These bars balance the perfect chewy sugar cookie texture with sweet jammy filling, topped with that iconic poptart glaze and colorful sprinkles.
I first made these during a rainy weekend when my nieces were visiting, and they've requested them at every family gathering since. The moment those rainbow sprinkles hit the glaze, their eyes lit up like it was Christmas morning.
Ingredients
- Unsalted butter room temperature allows for proper creaming with sugar creating that perfect cookie texture
- Granulated sugar provides the right amount of sweetness and helps create those crisp edges
- Large eggs at room temperature incorporate better into the batter
- Vanilla extract enhances the cookie flavor use pure extract for best results
- All purpose flour measured properly creates the foundation for these bars
- Fine sea salt balances the sweetness and enhances flavor
- Baking soda gives just enough lift while maintaining chewiness
- Strawberry preserves create that classic poptart filling look for preserves with visible fruit pieces
- Powdered sugar forms the base of that iconic poptart glaze
- Whole milk creates the perfect glaze consistency
- Rainbow sprinkles give these bars their nostalgic poptart appearance
Step-by-Step Instructions
- Prepare the Pan
- Line your metal 8x8 baking pan with parchment paper allowing excess to hang over all sides. This creates handles to easily remove the bars later. Preheat your oven to 375°F now so it reaches temperature by the time your dough is ready.
- Cream Butter and Sugar
- Beat the room temperature butter and granulated sugar for a full 3 minutes. This step is crucial for incorporating air into the dough which gives your bars that perfect texture. The mixture should become noticeably lighter in both color and texture.
- Add Wet Ingredients
- Mix in eggs and vanilla just until combined. Overbeating at this stage can incorporate too much air and cause the bars to rise and fall during baking. Scrape down the sides of the bowl to ensure even mixing.
- Add Dry Ingredients
- Gradually mix in the flour salt and baking soda until the dough just comes together. The dough will be somewhat sticky at this point but should hold its shape when pressed together.
- Chill the Dough
- Refrigerate the dough for 20 minutes. This brief chilling period makes the dough easier to work with and helps prevent spreading during baking. The cooler dough will be much more manageable when pressing into the pan.
- Create Bottom Layer
- Press exactly half of the dough into your prepared pan. Use a kitchen scale for precision or eyeball it by dividing your dough into two equal portions. Press the dough evenly to create a uniform bottom layer.
- Freeze First Layer
- Remove the first layer from the pan using the parchment paper handles and transfer to a baking sheet. Place in freezer while preparing the next layer. This prevents the bottom layer from becoming too warm while you work.
- Prepare Second Layer
- Replace parchment in the pan and press remaining dough into the bottom creating your second cookie layer. The dough should be spread evenly to match the size of your first layer.
- Add Preserves
- Spread strawberry preserves evenly over the dough in the pan. Try to keep a small border around the edges to prevent the jam from bubbling over during baking.
- Assemble Layers
- Place the frozen first layer on top of the jam layer removing the parchment first. Press gently but firmly to secure it to the jam layer creating your sandwich effect.
- Bake to Perfection
- Bake for 25 to 28 minutes until the top is golden brown. The center might seem slightly underdone but will continue cooking as it cools. Look for that perfect golden color on top.
- Cool Completely
- Allow the bars to cool fully on a wire rack before removing from the pan. Patience here prevents breaking and allows the jam to set properly.
- Flip and Glaze
- Using the parchment handles lift the cooled bars out and flip so the bottom becomes the top. This gives you a perfectly smooth surface for the glaze.
- Make and Apply Glaze
- Whisk together powdered sugar milk and vanilla until smooth and pour over bars. Work quickly to get an even layer before adding sprinkles.
- Decorate
- Immediately add rainbow sprinkles to the wet glaze so they adhere properly. Be generous with the sprinkles for that classic poptart look.
- Set and Serve
- Allow the glaze to set completely at room temperature for 1 to 2 hours before cutting. This ensures clean slices and prevents the glaze from smearing.
 Bookmark
Strawberry preserves make these truly special because they provide that perfect balance of sweetness and slight tartness that mimics the classic poptart filling. I remember my grandmother always made homemade strawberry jam each summer and these bars bring back those sweet memories every time.
Storage Instructions
These poptart cookie bars stay fresh at room temperature for up to 5 days when stored in an airtight container. Place parchment paper between layers if you need to stack them to prevent sticking. While refrigeration is not necessary it can extend their life by a couple of days though the texture may become slightly firmer. For longer storage freeze unglazed bars for up to 3 months wrapped individually in plastic wrap then foil. Thaw at room temperature and add the glaze fresh before serving.
Perfect Substitutions
The beauty of this recipe lies in its versatility. Swap strawberry preserves for raspberry blackberry or apricot for different flavor profiles. Almond extract can replace vanilla in both the cookie and glaze for a sophisticated twist. For a chocolate version add 1/4 cup cocoa powder to the dough reducing flour by the same amount and fill with chocolate hazelnut spread instead of fruit preserves. Coconut oil can substitute butter for a dairy free version though the texture will be slightly different.
Serving Suggestions
Serve these poptart cookie bars slightly warm with a scoop of vanilla ice cream for an elevated dessert experience. For brunch cut into smaller pieces and arrange on a platter alongside fresh berries and whipped cream. They pair wonderfully with coffee or milk making them perfect for afternoon tea or an afterschool treat. During summer months sandwich a small scoop of ice cream between two bars for a nostalgic ice cream sandwich upgrade that will delight guests of all ages.
Cultural Inspiration
These poptart cookie bars represent the best of American dessert innovation taking a beloved commercial breakfast treat and transforming it into a homemade delight. The original poptarts debuted in 1964 by Kelloggs and quickly became a cultural icon. This homemade version elevates the concept with quality ingredients and balanced flavors. The rainbow sprinkle decoration honors the festive appearance of the original while the homemade cookie base and real fruit preserves create a more sophisticated taste experience that appeals to both children and adults alike.
Recipe Q&A
- → Can I use different flavored preserves for these cookie bars?
Absolutely! While strawberry preserves create the classic flavor, you can substitute with grape, blackberry, blueberry, raspberry, or any other preserves you prefer. The versatility of this dessert allows you to customize based on your favorite flavors.
- → Why is my cookie dough sticky when pressing into the pan?
The dough has a naturally sticky consistency due to the butter and sugar content. Working with clean hands helps prevent the dough from sticking to your fingers. Chilling the dough for 20 minutes as directed also makes it easier to handle and press into the pan.
- → How long do I need to wait for the glaze to set?
The glaze typically takes 1-2 hours to set completely at room temperature. This timing may vary depending on humidity levels in your kitchen. Avoid placing the bars in the freezer to speed up the process, as this can cause the glaze to absorb moisture and develop wrinkles.
- → Can I use a glass baking dish instead of a metal pan?
It's highly recommended to use a square metal 8×8 baking pan with straight edges as specified in the recipe. Glass or ceramic pans conduct heat differently, which would require adjusting the baking time and could result in a cakier texture rather than the desired chewy consistency.
- → What's the best way to measure flour for this dessert?
For best results, use the spoon-level method: fluff the flour first, then spoon it into your measuring cup and level off with a straight edge. Never scoop directly from the container as this compacts the flour, resulting in using too much. Ideally, use a kitchen scale for the most accurate measurements.
- → How should I store these cookie bars?
Once the glaze has completely set, store the bars in an airtight container at room temperature for up to 3-4 days. You can also refrigerate them to extend freshness for up to a week. For longer storage, freeze the unglazed bars, then thaw and add the glaze before serving.