
 Bookmark
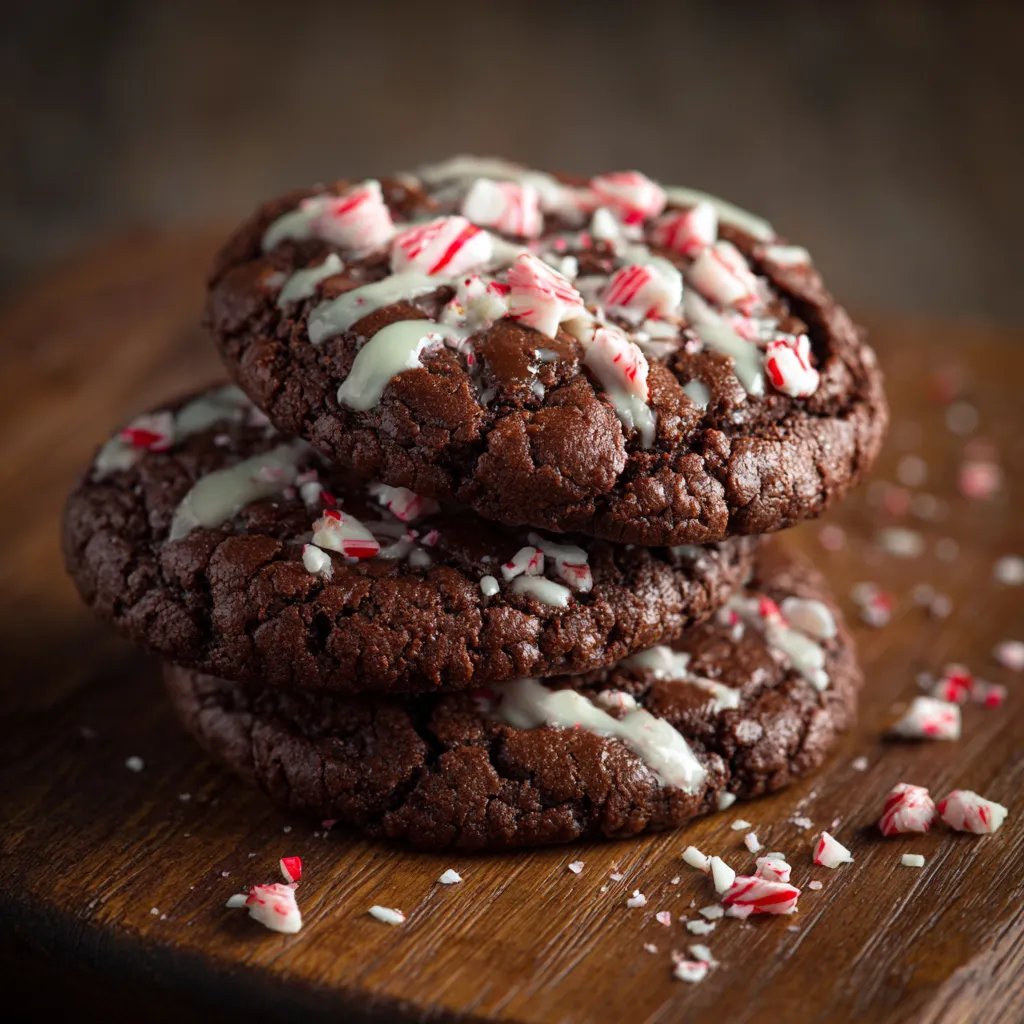
This classic peppermint brownie cookie recipe combines the rich fudginess of a chocolate brownie with refreshing peppermint flavor. The cookies bake up with that perfect crackly top and chewy interior that makes brownies so irresistible, while the peppermint and crushed candy canes add a festive holiday twist to an already delicious treat.
I discovered this recipe when looking for something special to bring to my annual neighborhood cookie exchange. These cookies were such a hit that three different neighbors asked for the recipe before the night was over.
Ingredients
- All purpose flour creates the perfect structure without being too cakey
- Unsweetened cocoa powder gives these cookies their deep chocolate flavor
- Baking powder provides just enough lift while keeping them dense and fudgy
- Salt enhances all the flavors and balances the sweetness
- Unsalted butter adds richness and allows you to control the salt content
- Granulated sugar creates that classic crackly brownie top
- Brown sugar adds moisture and a hint of caramel flavor
- Eggs bind everything together and contribute to the fudgy texture
- Vanilla extract enhances the chocolate flavor
- Peppermint extract provides that refreshing holiday flavor without overwhelming
- Semi sweet chocolate chips melt into pockets of gooey chocolate throughout
- Crushed candy canes add a festive touch and extra peppermint flavor
Step-by-Step Instructions
- Prep the Oven and Tools
- Preheat your oven to 350°F and position a rack in the center. This temperature is crucial for achieving that perfect balance where the cookies set properly while maintaining a fudgy interior. Line your baking sheets with parchment paper or silicone mats to prevent sticking and make cleanup easier.
- Mix the Dry Ingredients
- Combine the flour, cocoa powder, baking powder, and salt in a medium bowl. Whisk thoroughly until no streaks remain. This step is important because cocoa powder tends to clump. Sifting the cocoa first results in a smoother batter and more evenly flavored cookies. Take your time with this step as it ensures even distribution of the leavening agent.
- Create the Wet Mixture
- Pour melted butter into a large bowl and let it cool slightly so it won't cook the eggs. Add both sugars and mix for a full minute until the mixture becomes glossy and most sugar dissolves. This creates that signature crackly brownie top. Add eggs one at a time, mixing well after each addition. The batter should become smooth and shiny. Stir in vanilla and peppermint extracts, being careful with the peppermint as it is potent.
- Combine Wet and Dry Ingredients
- Add the dry mixture to the wet ingredients in two additions, folding gently with a spatula until just combined. Stop mixing as soon as the flour disappears to avoid overworking the dough. Gently fold in the chocolate chips until evenly distributed throughout the batter. The dough will be quite thick but still somewhat sticky.
- Chill the Dough
- Cover the bowl and refrigerate the dough for 20-30 minutes. This step is technically optional but highly recommended. Chilling firms up the butter and results in thicker, fudgier cookies with less spreading. The wait is absolutely worth it for that perfect brownie-like texture.
- Scoop and Decorate
- Use a 2-tablespoon cookie scoop to portion the dough onto prepared baking sheets, spacing them about 2 inches apart. Press a few extra chocolate chips on top of each dough ball for visual appeal. Sprinkle with crushed candy canes so they stick during baking. The candy canes will partially melt, creating beautiful red streaks throughout the cookies.
- Bake to Perfection
- Bake for 10-12 minutes, depending on your texture preference. For truly fudgy centers, pull them at 10 minutes when the edges are set but the centers still look slightly underbaked. The cookies will continue cooking on the hot baking sheet. If you prefer a cakier texture, bake for the full 12 minutes.
- Cool and Store
- Allow the cookies to rest on the baking sheet for 5 minutes before transferring to a wire rack. This resting period helps them set up properly without falling apart. Once completely cool, store in an airtight container at room temperature for up to 4 days.
 Bookmark
The crushed candy canes are what make these cookies truly special in my family. My daughter and I make it a tradition to put the candy canes in a zip-top bag and take turns smashing them with a rolling pin. It has become one of our favorite holiday baking rituals, and she claims the cookies taste better when we crush the candy canes ourselves rather than buying pre-crushed ones.
Storage and Freezing Tips
These peppermint brownie cookies stay fresh in an airtight container at room temperature for up to 4 days. For longer storage, place them in the refrigerator where they'll keep for about a week. The texture becomes slightly more dense and fudgy when chilled, which many people actually prefer.
For freezing, you have two excellent options. You can freeze the baked cookies by first flash-freezing them on a baking sheet until solid, then transferring to freezer bags. They'll keep for up to 3 months this way. Alternatively, freeze portioned balls of raw dough on a baking sheet, then transfer to freezer bags. When ready to bake, simply place the frozen dough balls on a baking sheet and add 1-2 minutes to the baking time. No need to thaw first!
Ingredient Substitutions
If you need to make substitutions, there are several options that work well. For a dairy-free version, substitute the butter with coconut oil at a 1:1 ratio. The cookies will have a slight coconut flavor that pairs surprisingly well with the chocolate and peppermint.
For a gluten-free option, substitute the all-purpose flour with a 1:1 gluten-free baking blend. Look for one that contains xanthan gum for the best texture results. The cookies may spread slightly more but will still be delicious.
White chocolate chips can replace semi-sweet chocolate chips for a sweeter cookie with a pretty color contrast. Dark chocolate chips create an even more intense chocolate experience. If you prefer a less minty cookie, reduce the peppermint extract to 1/4 teaspoon.
Holiday Gifting Ideas
These cookies make wonderful holiday gifts. Stack 4-6 cookies in a clear cellophane bag tied with a festive ribbon. For an extra special touch, include a handwritten recipe card. They ship well when packed carefully with parchment paper between layers and cushioning to prevent breakage.
For cookie exchanges, consider making them slightly smaller using a 1-tablespoon scoop to yield about 36 cookies instead of 24. This allows more cookies for sharing without increasing the recipe. Just reduce the baking time by 1-2 minutes for the smaller size.
Recipe Q&A
- → Can I adjust the peppermint flavor?
Yes, peppermint extract is potent, so adjust to your preference. For milder mint flavor, reduce to ¼ teaspoon. For stronger mint taste, increase to ¾ teaspoon, but be cautious as too much can overwhelm the chocolate.
- → Is chilling the dough necessary?
Chilling for 20-30 minutes is recommended for thicker, fudgier cookies that spread less. If you're short on time, you can skip chilling, but the cookies will spread more during baking while still tasting delicious.
- → How do I know when the cookies are done baking?
Look for slightly cracked tops and set edges while the centers still appear slightly underbaked, around 10-12 minutes. For fudgier cookies, remove at 10 minutes. The cookies will continue setting on the hot baking sheet.
- → Can I freeze these cookies?
Yes! You can freeze baked cookies in an airtight container for up to 3 months. Alternatively, portion the dough, flash-freeze on a tray, then transfer to a freezer bag. Bake from frozen, adding 1-2 minutes to the baking time.
- → What can I substitute for candy canes?
Any peppermint candies work well when crushed. You can also use white chocolate chips with a dash of peppermint extract, or peppermint baking chips. For a non-peppermint option, try chocolate sprinkles or festive holiday sprinkles.
- → Why did my cookies turn out cakey instead of fudgy?
Overmixing the dough develops gluten, resulting in cakier cookies. Mix just until ingredients are combined. Also, overbaking dries out cookies—remove them when centers still look slightly underbaked for that brownie-like chew.