
 Bookmark
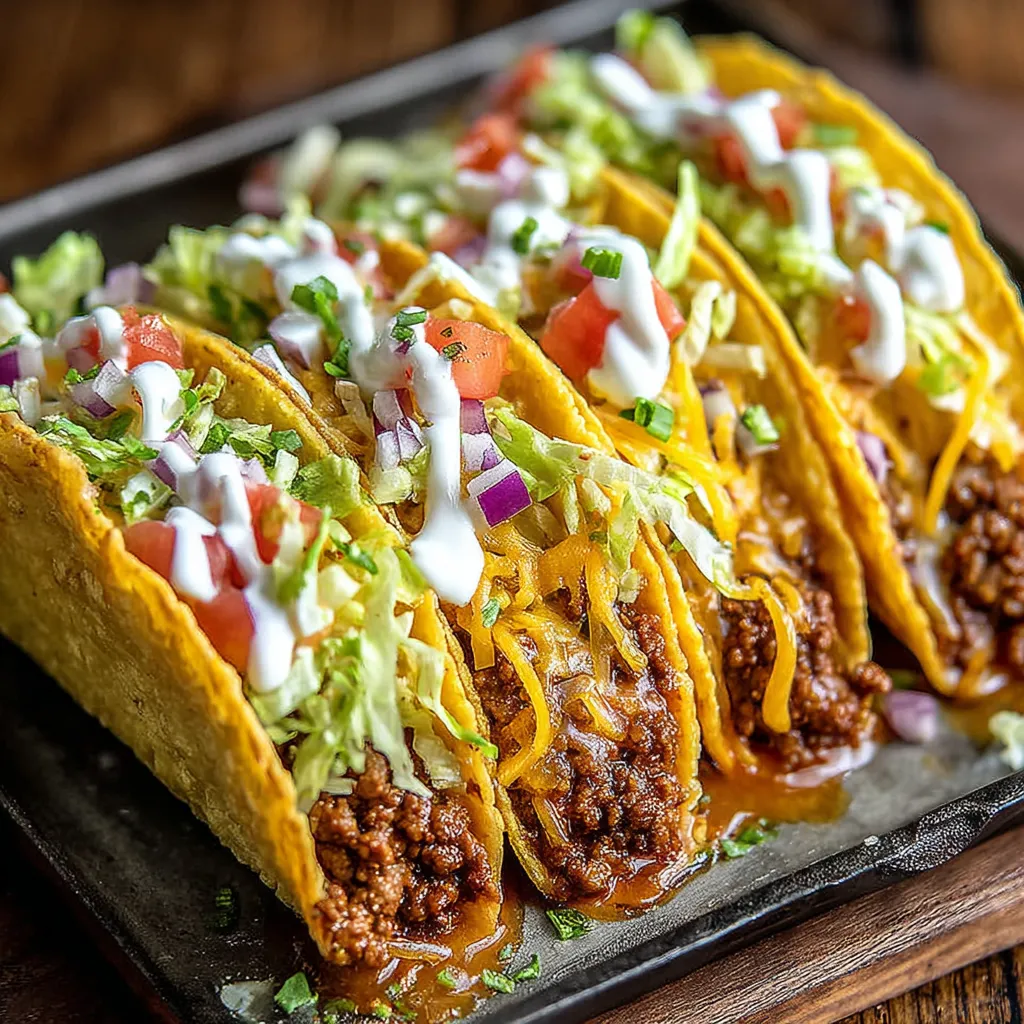
This hearty oven-baked cheesy taco recipe transforms ordinary taco night into something extraordinary. The crispy shells filled with savory beef and melted cheese create that perfect combination of textures that makes these tacos irresistible.
I first made these for my skeptical teenagers who insisted that traditional stovetop tacos were the only way to go. Three helpings later, they declared these baked tacos the new family favorite and now specifically request them for birthday dinners.
Ingredients
- Ground beef delivers rich flavor and hearty texture as the base consider 80/20 for best flavor
- Olive oil helps brown the meat beautifully and adds a subtle richness
- Onion and garlic create an aromatic foundation that enhances the beef
- Taco seasoning provides that classic flavor profile look for packages without MSG
- Tomato sauce adds moisture and tangy depth prevents the filling from drying out
- Taco shells choose sturdy ones that can stand up in the baking dish
- Shredded cheese use freshly shredded for best melting quality
- Fresh toppings like lettuce and tomatoes add brightness and crunch
- Cilantro brings that distinctive herbal note that elevates the entire dish
Step-by-Step Instructions
- Prep Your Oven
- Set oven to 375°F and prepare your baking dish with a light coating of oil or line with foil. This temperature is perfect for melting cheese while crisping the shells without burning them.
- Create The Flavor Base
- Heat olive oil in a large skillet until it shimmers then add diced onion and minced garlic. Cook for about 4 minutes until onions are translucent and the kitchen smells fragrant. This aromatic foundation will infuse the entire dish with flavor.
- Brown The Meat
- Add ground beef to the skillet breaking it into small pieces with a wooden spoon. Cook until no pink remains about 6 to 8 minutes. The beef should develop some caramelized bits for maximum flavor.
- Season Perfectly
- Stir in the taco seasoning and tomato sauce then season with salt and pepper. Simmer gently for 5 minutes allowing the flavors to meld and the sauce to thicken slightly. The mixture should be moist but not watery.
- Assemble With Care
- Fill each taco shell about three quarters full with the meat mixture. This leaves just enough room for the cheese to melt without overflowing. Place them standing upright in the baking dish nestled against one another for support.
- Add Cheese Generously
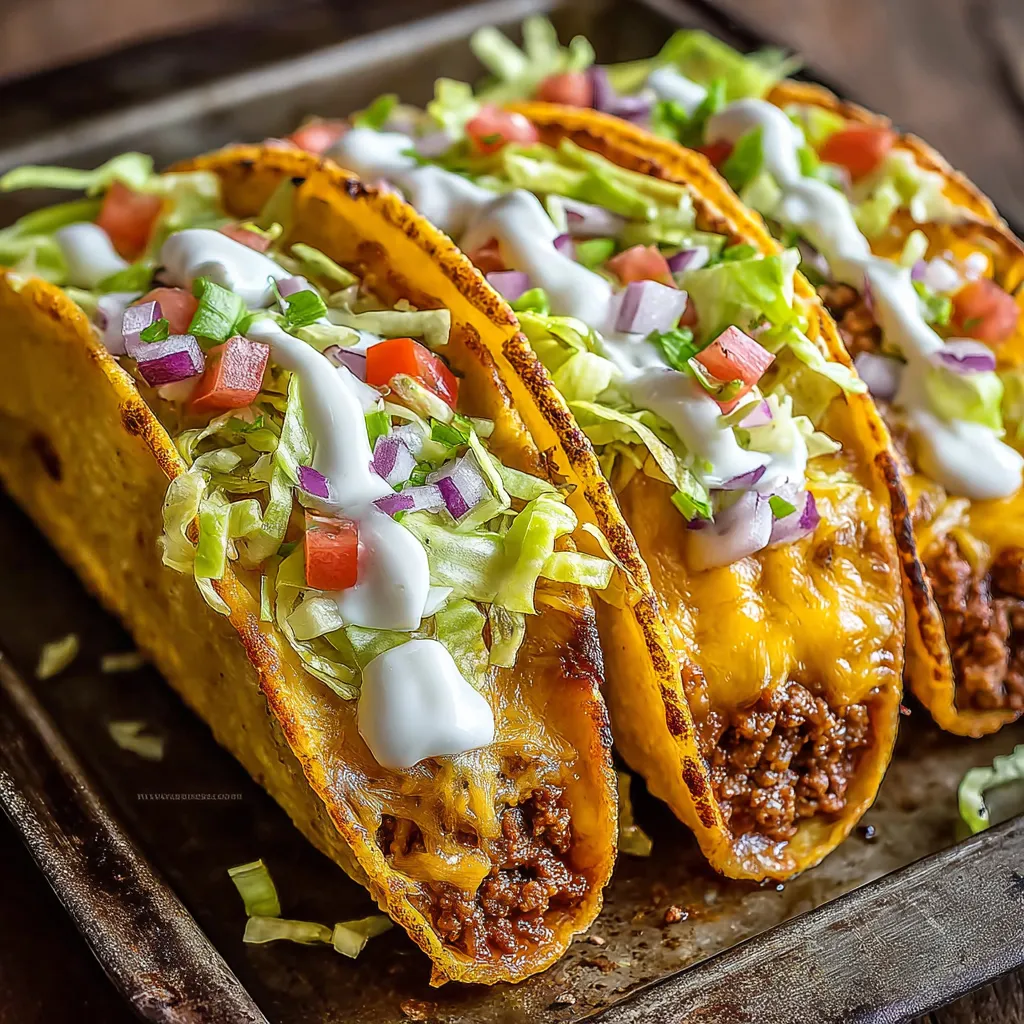
- Sprinkle a generous amount of shredded cheese on top of each taco making sure to get some down into the meat. The cheese will melt and create that perfect crispy cheese edge that makes these tacos special.
- Bake To Perfection
- Bake for exactly 10 to 15 minutes watching carefully near the end. You want the cheese completely melted and the edges of the shells golden and crispy but not burnt.
- Finish With Fresh Toppings
- Once out of the oven immediately add your cold fresh toppings. The contrast between hot filling and cool crisp toppings is what makes these tacos exceptional.
 Bookmark
My absolute favorite thing about these tacos is the way the cheese melts down into the shells and creates those crispy browned edges. My daughter calls them "cheese skirts" and always claims the tacos with the most extensive cheese melting. Last Cinco de Mayo we had a competition to see who could create the taco with the most impressive cheese skirt which turned into an unforgettable family memory.
Make Ahead Magic
These tacos can be fully assembled up to 24 hours before baking. Simply cover the baking dish with plastic wrap and refrigerate. When ready to serve add about 3 minutes to the baking time since they'll be starting cold. This makes them perfect for entertaining or busy weeknights when you want to do prep work in advance.
Taco Topping Bar
Consider setting up a taco topping bar when serving these for parties or family dinners. Include bowls of shredded lettuce diced tomatoes sliced avocado diced red onions sliced jalapeños sour cream and various hot sauces. This allows everyone to customize their tacos exactly to their liking and makes for an interactive dinner experience.
From Leftovers To Lunch
Leftover taco filling makes an incredible next day lunch. You can repurpose it into a taco salad wrap it in a burrito with rice and beans or even use it as a topping for nachos. The flavors actually develop overnight making the meat mixture even more delicious on day two.
Recipe Q&A
- → Can I make these tacos ahead of time?
Yes! You can prepare the meat filling and store it in the refrigerator for up to 2 days. When ready to serve, fill the taco shells with the reheated meat and cheese, then bake as directed. Add the fresh toppings after baking.
- → What's the best cheese to use for these tacos?
A Mexican blend cheese works wonderfully, but plain cheddar is excellent too. For best results, use freshly shredded cheese rather than pre-packaged as it melts more evenly. Monterey Jack or pepper jack add great flavor if you prefer something different.
- → How do I keep the tacos from falling over in the oven?
Place the filled tacos side by side in a baking dish, tightly packed but not squished. You can also use a specialized taco baking rack, or create a makeshift stand by crumpling aluminum foil into a series of dividers between each taco.
- → Can I make these with corn tortillas instead of taco shells?
Absolutely! For corn tortillas, briefly warm them in a skillet to make them pliable, fill with the meat mixture and cheese, then fold and place seam-side down in the baking dish. Brush with a little oil before baking for extra crispness.
- → What sides pair well with these tacos?
Mexican rice, refried or black beans, corn salad, or a simple green salad complement these tacos perfectly. For a complete fiesta, serve with chips, salsa, and guacamole on the side.
- → How can I make this vegetarian?
Replace the ground beef with plant-based meat substitute, or use a mixture of black beans and finely chopped vegetables like bell peppers, zucchini, and mushrooms seasoned with the same taco spices. The baking method remains the same.