 Bookmark
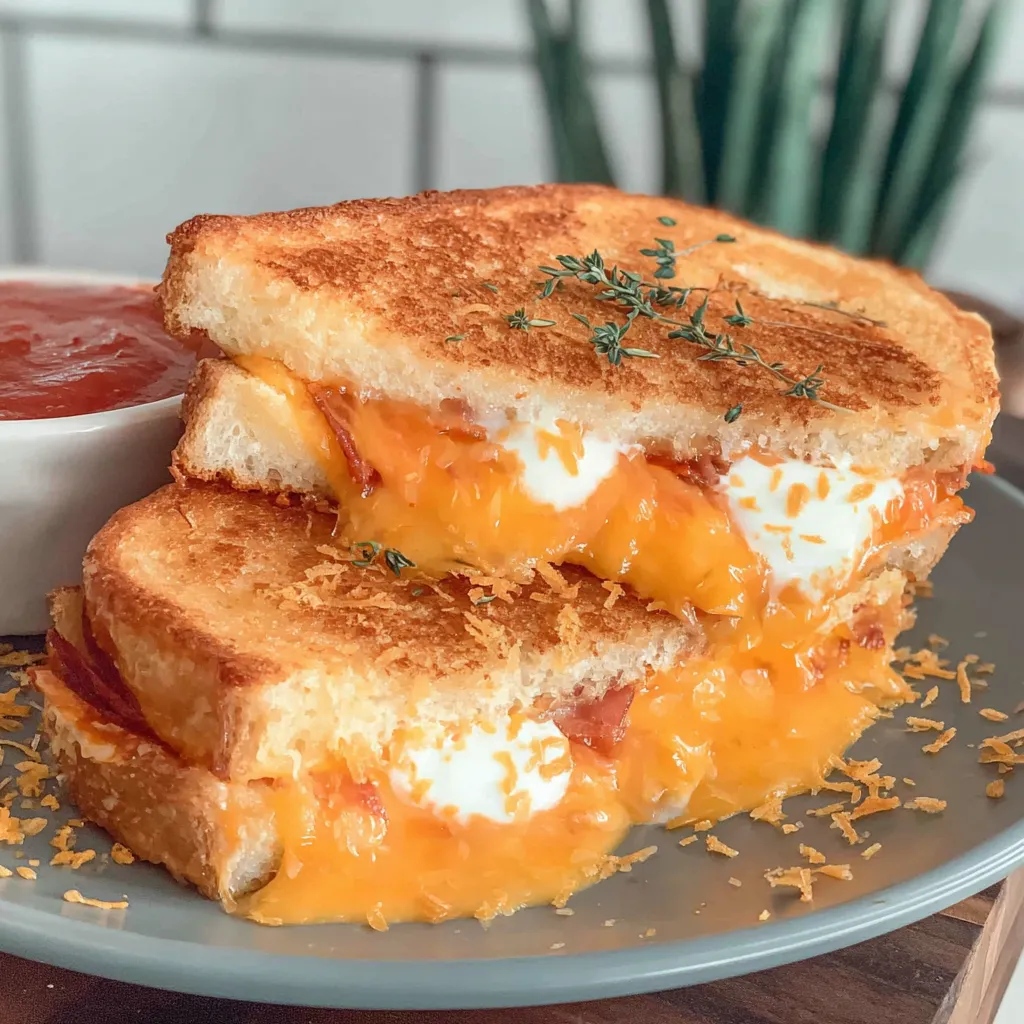
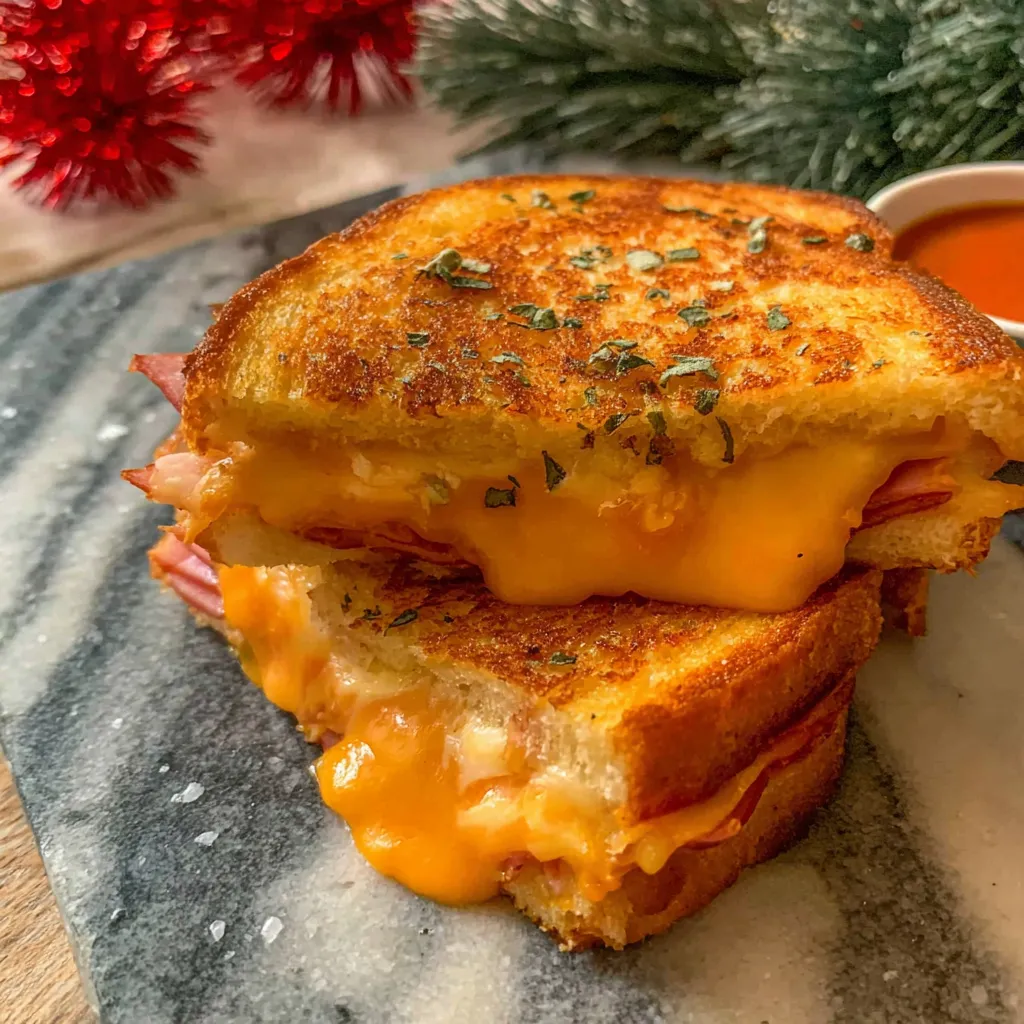
This Hawaiian roll grilled cheese sandwich transforms a simple comfort food into an extraordinary bite-sized treat that will have everyone asking for seconds. The soft sweetness of King's Hawaiian rolls paired with melty cheddar and savory herb butter creates an irresistible combination that elevates the humble grilled cheese to new heights.
I first made these mini sandwiches for my neighborhood potluck last winter, and they disappeared faster than any other dish on the table. Now I keep Hawaiian rolls on hand just for this recipe because my family requests them at least twice a month.
Ingredients
- King's Hawaiian Original Hawaiian Sweet Rolls provide the perfect sweet base that caramelizes beautifully when baked
- Sliced cheddar cheese use medium or sharp depending on your preference for the ideal melt and flavor
- 4 tbsp butter softened at room temperature for 30 minutes creates the best spreading consistency
- 1/2 tsp oregano adds an aromatic herb note that complements the sweet rolls
- 1/2 tsp garlic powder infuses the butter with savory depth without overpowering
- 1/2 tbsp parsley brings freshness and color to the herbed butter mixture
Step-by-Step Instructions
- Prepare the Herb Butter
- Combine the softened butter with oregano, garlic powder, and parsley in a small bowl. Mix thoroughly until all herbs are evenly distributed throughout the butter. This aromatic butter is what transforms ordinary grilled cheese into something special, so take your time incorporating the ingredients.
- Slice the Rolls
- Take each King's Hawaiian Sweet Roll and slice horizontally like you would for a sandwich. Then cut each roll into thirds vertically. This creates the perfect mini sandwich size and maximizes the crispy exterior to gooey interior ratio. The small size allows the butter to fully penetrate each piece.
- Butter the Bread
- Spread your prepared garlic herb butter generously onto each bread slice. Make sure to cover the surfaces completely for maximum flavor and to ensure proper browning. The butter acts as both a flavor enhancer and creates that beautiful golden crust.
- Assemble the Sandwiches
- Place a small piece of cheddar cheese between two buttered bread pieces, with the buttered sides facing outward. Arrange all assembled mini sandwiches on a parchment lined baking sheet, leaving small spaces between each one to allow for even heating and browning.
- Bake to Perfection
- Preheat your oven to 350°F and bake the sandwiches for 20 25 minutes total. Flip each sandwich halfway through the baking time to ensure even browning on both sides. Watch closely in the final minutes as the sweet rolls can caramelize quickly once they start browning.
 Bookmark
The first time I made these, I accidentally used salted butter with the herbs and discovered it actually enhanced all the flavors beautifully. That happy accident has become my standard approach now, and I highly recommend trying it if you enjoy a slightly more savory profile.
Storage and Reheating
These mini grilled cheese sandwiches are best served fresh from the oven when the cheese is perfectly melted and the exterior is crisp. However, if you have leftovers, store them in an airtight container in the refrigerator for up to 2 days. To reheat, place them in a 325°F oven for about 5 to 7 minutes until warmed through and crispy again. Avoid microwave reheating as it will make the bread soggy rather than crisp.
Perfect Pairings
While these mini sandwiches are absolutely delicious on their own, they reach new heights when paired with the right accompaniments. Classic tomato soup is the obvious choice, but consider trying them with butternut squash soup, roasted red pepper soup, or even a spicy chili for contrast. For a complete meal, serve alongside a simple green salad dressed with a light vinaigrette to balance the richness of the grilled cheese.
Creative Variations
The basic recipe is fantastic, but consider these tasty variations to keep things interesting. Add thinly sliced ham for a Hawaiian roll take on a Monte Cristo. Incorporate pineapple tidbits for a true Hawaiian theme that plays beautifully with the sweet rolls. Try different cheeses like pepper jack for heat, gouda for smokiness, or a blend of cheeses for complex flavor. You can also add a thin spread of mayo to the outside of the rolls instead of butter for an extra crispy exterior.
Recipe Q&A
- → Can I use other types of cheese besides cheddar?
Absolutely! While cheddar provides a classic flavor, you can experiment with American, provolone, pepper jack, or Swiss cheese. For extra richness, try combining cheddar with a bit of gruyere or fontina. The key is using cheeses that melt well.
- → How do I prevent the bottoms from burning?
To prevent burning, place the baking sheet in the middle rack of your oven, use parchment paper, and be sure to flip the sandwiches halfway through baking as directed. You can also slightly reduce the temperature to 325°F if your oven runs hot.
- → Can I add additional fillings?
Yes! Consider adding thin slices of ham, bacon bits, caramelized onions, or a spread of mustard or mayo for extra flavor. Just be mindful not to overfill the small sandwiches, which could cause the cheese to leak out during baking.
- → How do I store and reheat leftovers?
Store leftovers in an airtight container in the refrigerator for up to 3 days. For best results, reheat in a 350°F oven for 5-7 minutes until warmed through and cheese is melty again. You can also use a toaster oven. Avoid microwaving if possible as it can make the bread soggy.
- → What soup pairs best with these sandwiches?
Classic tomato soup is the traditional pairing, but these mini sandwiches also go well with roasted red pepper soup, tomato basil soup, or even creamy potato soup. For a lighter option, try a vegetable broth-based soup.
- → Can I prepare these in advance for a party?
You can assemble these up to a day ahead and store covered in the refrigerator. Let them come to room temperature for about 20 minutes before baking, or add a few extra minutes to the baking time if cooking directly from the refrigerator.
