
 Bookmark
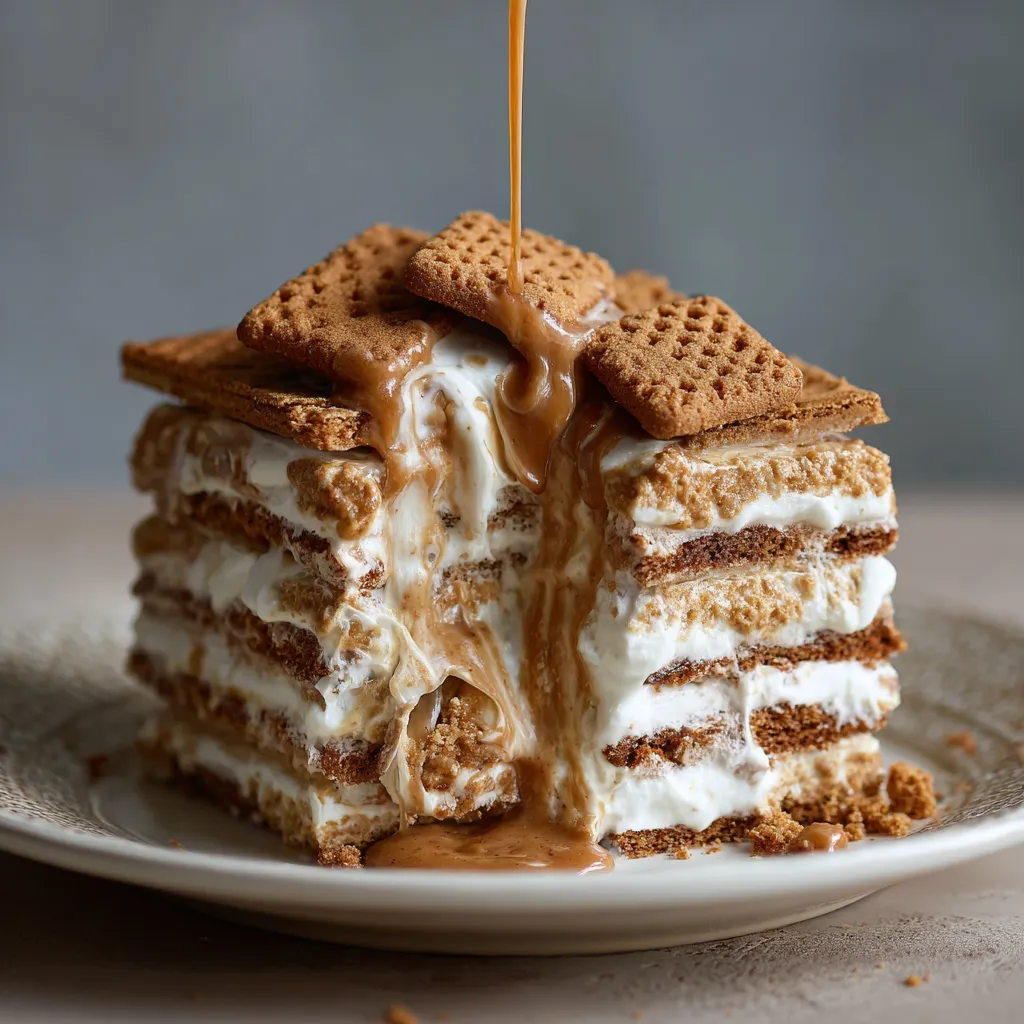
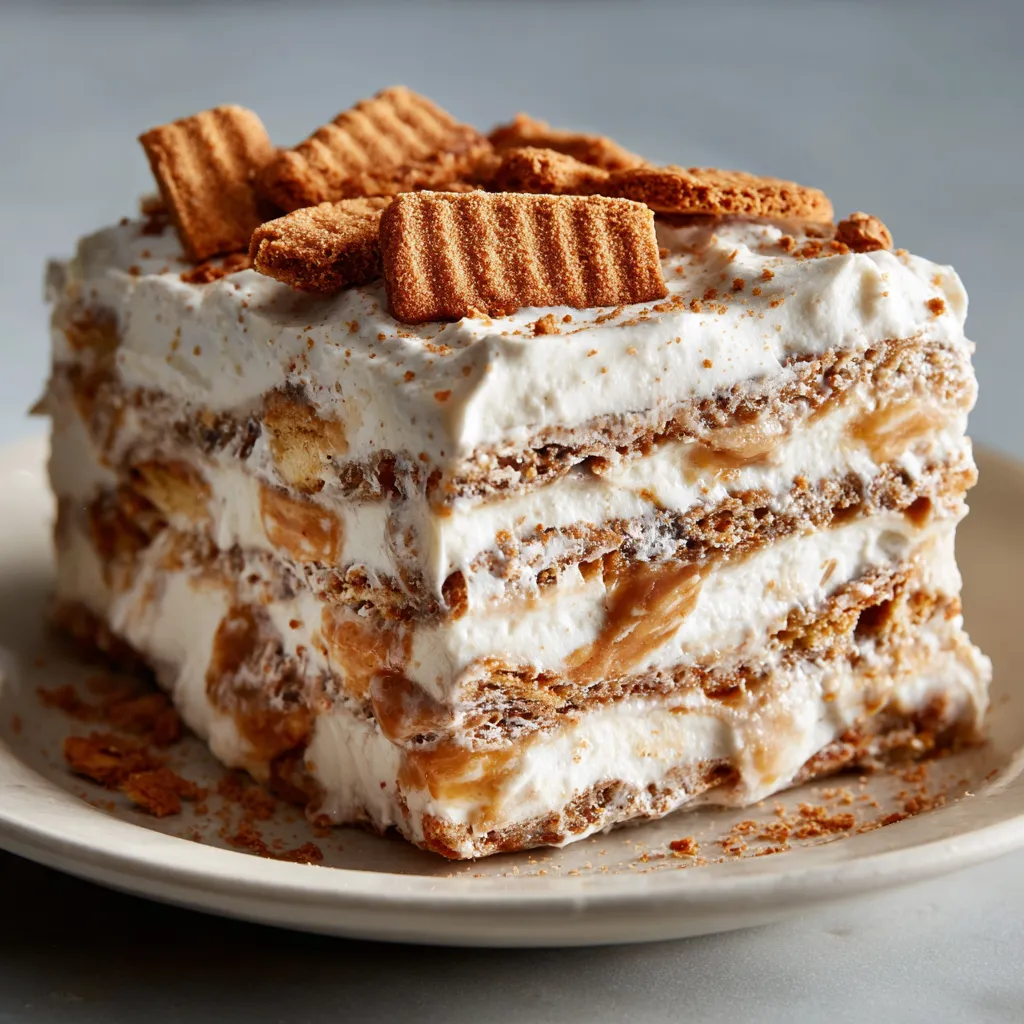
This no-bake cookie butter icebox cake transforms simple ingredients into a show-stopping dessert with minimal effort. Layers of crisp Biscoff cookies soften between clouds of cookie butter whipped cream, creating a texture that's simultaneously light and decadently rich—perfect for when you need an impressive dessert without turning on the oven.
I first made this for a summer gathering when it was too hot to bake, and my guests were literally scraping their plates clean. Now it's requested for nearly every family celebration regardless of season.
Ingredients
- Heavy cream forms the airy base of our filling. Look for high-fat content cream for the best whipping results
- Cookie butter spread provides that distinctive spiced caramel flavor. Lotus Biscoff brand creates the most authentic taste
- Mascarpone cheese adds richness and helps stabilize the whipped cream. Make sure it's at room temperature for smooth blending
- Pure vanilla extract enhances the overall flavor profile. Use real vanilla, not imitation for the best results
- Confectioners sugar lightly sweetens without making the dessert cloying. The cookies already provide plenty of sweetness
- Lotus Biscoff cookies are the essential building blocks. Their crisp texture softens beautifully to create tender cake-like layers
Step-by-Step Instructions
- Whip the cream
- Pour the heavy cream into your stand mixer bowl fitted with the whisk attachment. Start on low speed then gradually increase to medium-high. Watch carefully for medium peaks where the cream stands up but the tips gently fold over. This takes about 3-4 minutes but can vary based on cream temperature and fat content.
- Add the cookie butter mixture
- Reduce mixer speed and add room temperature cookie butter, mascarpone, vanilla extract, salt, and confectioners sugar. The mixture should be fully incorporated but still light and fluffy. Avoid overmixing which can deflate your beautiful whipped cream.
- Assemble the icebox cake
- Line your loaf pan with plastic wrap leaving enough overhang to cover the top later. This ensures easy removal after chilling. Place a single layer of Biscoff cookies along the bottom, breaking pieces as needed to fill gaps. Spread an even layer of cookie butter cream on top approximately the same thickness as the cookies. Continue alternating layers until reaching the top, finishing with cookies.
- Chill overnight
- Loosely cover with plastic wrap and refrigerate for at least 24 hours. This resting time allows the cookies to absorb moisture from the cream and transform into tender cake-like layers. When ready to serve, use the plastic wrap overhang to lift the cake out onto a serving platter, then drizzle with melted cookie butter and sprinkle with crushed cookies.
 Bookmark
The cookie butter is truly the star ingredient here. Its warm, spiced notes remind me of gingerbread but with a distinctive caramelized quality that's completely irresistible. My daughter now requests this instead of traditional birthday cake every year.
Texture Transformation
What makes this dessert truly magical is how the crisp cookies transform during chilling. The moisture from the whipped cream mixture slowly penetrates the cookies, softening them to a perfect cake-like consistency while still maintaining structural integrity. This process requires patience but the textural contrast between the tender cookies and creamy filling is absolutely worth waiting for.
Storage and Make-Ahead Tips
This icebox cake is designed to be made ahead and actually improves with time in the refrigerator. Store any leftovers tightly wrapped in the refrigerator for up to 3 days. The texture remains perfect and the flavors continue to develop. For longer storage, you can freeze the entire cake or individual slices wrapped tightly in plastic wrap and placed in a freezer-safe container for up to a month. Thaw overnight in the refrigerator before serving.
Creative Variations
While the classic version is perfection, this recipe lends itself to delicious variations. Try using chocolate Biscoff cookies for a deeper flavor profile or incorporate thin slices of banana between layers for a banana pudding inspired twist. During holiday seasons, add a teaspoon of cinnamon or gingerbread spice to the whipped cream mixture and garnish with sugared cranberries for a festive presentation. The versatility of this base recipe makes it endlessly adaptable.
Serving Suggestions
For an elegant presentation, dust the top with a light sprinkling of cocoa powder or cinnamon before drizzling with melted cookie butter. Serve slices alongside fresh berries to cut through the richness, or with a small scoop of vanilla ice cream for an over-the-top treat. When entertaining, I slice this dessert ahead of time and arrange on dessert plates with a mint sprig and fresh raspberry for a restaurant-quality presentation that takes minimal effort.
Recipe Q&A
- → Can I substitute the mascarpone cheese?
Yes, you can substitute mascarpone with room temperature cream cheese. The flavor will be slightly tangier, so you might want to add a bit more confectioner's sugar to balance it.
- → How far in advance can I make this icebox cake?
This dessert is designed for advance preparation. While it needs at least 24 hours to set properly, you can make it up to 3 days ahead and keep it refrigerated until serving time.
- → Can I freeze leftover cookie butter icebox cake?
Yes, wrap leftover portions tightly in plastic wrap, place in a freezer-safe container, and freeze. Thaw overnight in the refrigerator before serving.
- → How many Biscoff cookies will I need?
You'll need approximately 1½ packages (about 48 cookies) for a standard loaf pan. The exact amount may vary depending on your pan size and shape. It's recommended to purchase 2 packages to ensure you have enough, plus extra for garnishing.
- → What's the best way to melt cookie butter for drizzling?
Place ⅓ cup cookie butter in a microwave-safe bowl, then heat in 30-second increments, stirring between each, until warm and pourable but not hot.
- → Can I use a different type of cookie?
While Lotus Biscoff cookies create the signature speculoos flavor, you can experiment with other cookies like chocolate wafers, graham crackers, or gingersnaps for a different twist.