
 Bookmark
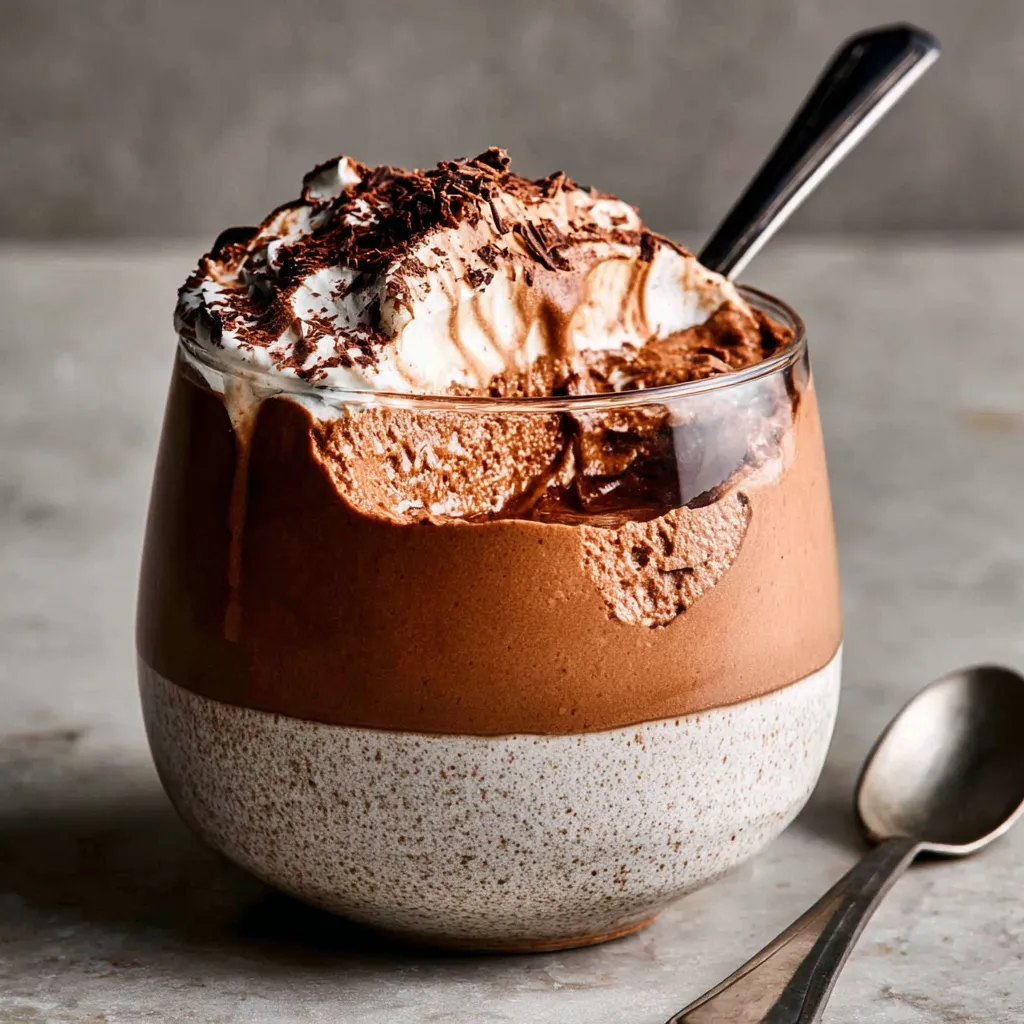
This indulgent coffee mousse transforms simple ingredients into a cloud-like dessert that delivers rich coffee flavor in every spoonful. With just five ingredients and minimal effort, it's become my favorite way to end dinner parties when I want to impress without spending hours in the kitchen.
I first created this mousse when unexpected guests arrived one evening, and I needed a quick dessert that looked fancy. The expressions of delight as they tasted it made this an instant addition to my regular rotation of desserts.
Ingredients
- Heavy cream creates the light, airy texture that defines a perfect mousse. Look for high fat content cream at least 36% for the best whipping results.
- Milk balances the richness while maintaining creaminess. Whole milk works best for the silkiest texture.
- Espresso or strong coffee provides that distinctive flavor punch. Freshly brewed and cooled coffee offers the most vibrant taste.
- Confectioners sugar dissolves seamlessly into the mixture while adding just the right sweetness. It also helps stabilize the whipped cream.
- Dark chocolate brings depth and complexity. Choose a high quality chocolate with 60 70% cacao for the most luxurious flavor profile.
Step-by-Step Instructions
- Whip the Cream
- In a large chilled bowl, whip the heavy cream using an electric mixer on medium high speed for about 3 4 minutes until stiff peaks form. The cream should hold its shape firmly when the beaters are lifted but still look smooth and glossy not dry or grainy.
- Prepare the Coffee Mixture
- Combine the milk, cooled coffee, confectioners sugar, and melted chocolate in a separate bowl. Whisk thoroughly until completely smooth, ensuring no streaks of chocolate remain. The mixture should be room temperature or slightly cool not warm or it will deflate the whipped cream.
- Fold the Components
- Using a rubber spatula, gently add about one third of the whipped cream to the coffee chocolate mixture. Fold with a light hand using a down across up and over motion to preserve the airiness. Once incorporated, add the remaining whipped cream in two more additions, folding just until no white streaks remain.
- Chill and Set
- Spoon or pipe the finished mousse into individual serving glasses or bowls. Cover each with plastic wrap directly touching the surface to prevent skin formation. Refrigerate for at least two hours or up to overnight to allow the mousse to set completely and the flavors to meld.
 Bookmark
The dark chocolate is truly the heart of this recipe. I discovered through experimentation that switching from milk chocolate to a good quality dark variety transformed this from a pleasant dessert to an exceptional one that friends now specifically request when visiting.
Creating the Perfect Texture
The key to ethereal coffee mousse lies in proper folding technique. I learned through many batches that patience is crucial here. Use a large rubber spatula and cut through the mixture vertically, then sweep along the bottom of the bowl and up the side. Rotate the bowl slightly with each fold. This gentle method preserves the air bubbles that create that signature mousse lightness.
Flavor Variations
This coffee mousse recipe serves as an excellent base for creative adaptations. For a mocha hazelnut version, add two tablespoons of hazelnut liqueur and top with crushed hazelnuts. If you prefer warming spices, incorporate a quarter teaspoon of cinnamon and a pinch of cardamom to the coffee mixture. My personal favorite variation includes a tablespoon of orange zest folded in at the end, which brightens the deep coffee notes beautifully.
Elegant Serving Ideas
Transform this simple dessert into a showstopper with thoughtful presentation. Layer the mousse in clear glasses with fresh berries between for a colorful parfait effect. For dinner parties, I serve it in espresso cups with chocolate covered coffee beans on top for an elegant after dinner treat. During holiday seasons, add a dollop of spiced whipped cream and a dusting of cocoa powder or cinnamon for festive flair.
The Science Behind Perfect Mousse
Understanding the chemistry helps achieve consistent results. Chilling your bowl and beaters before whipping cream increases the volume you can achieve. The fat in the cream forms a network around air bubbles, which is why higher fat creams produce more stable mousses. Adding the sugar gradually while whipping helps stabilize the structure further. I always ensure all ingredients are at the proper temperature before combining to preserve the delicate structure.
Recipe Q&A
- → Can I make this coffee mousse in advance?
Yes! This coffee mousse is perfect for making ahead. Prepare it up to 2 days in advance and keep refrigerated until serving. The flavors actually develop and improve with time.
- → What can I use instead of espresso?
If you don't have espresso, any strong brewed coffee works well. For the best flavor, brew coffee at double strength and allow it to cool completely before using. Instant espresso powder dissolved in hot water is also an excellent substitute.
- → How can I make this coffee mousse less sweet?
To reduce sweetness, decrease the confectioners sugar to 2-3 tablespoons and use a darker chocolate with higher cocoa content (70% or above). The espresso naturally balances sweetness with its bitter notes.
- → Can I make this coffee mousse dairy-free?
Yes! Substitute the heavy cream with full-fat coconut cream (refrigerated overnight and only using the solid portion) and use almond milk instead of regular milk. Ensure your dark chocolate is dairy-free as well.
- → What's the best way to serve coffee mousse?
For an elegant presentation, serve in clear glasses or espresso cups. Top with a dollop of whipped cream, chocolate shavings, or a light dusting of cocoa powder. For texture contrast, add crushed chocolate-covered espresso beans or a crisp cookie on the side.
- → Why didn't my coffee mousse set properly?
The most common reason is underwhipped cream. Ensure your heavy cream reaches stiff peaks before folding it into the coffee mixture. Also, make sure your coffee and chocolate are completely cooled before combining with other ingredients to prevent deflating the whipped cream.