
 Bookmark
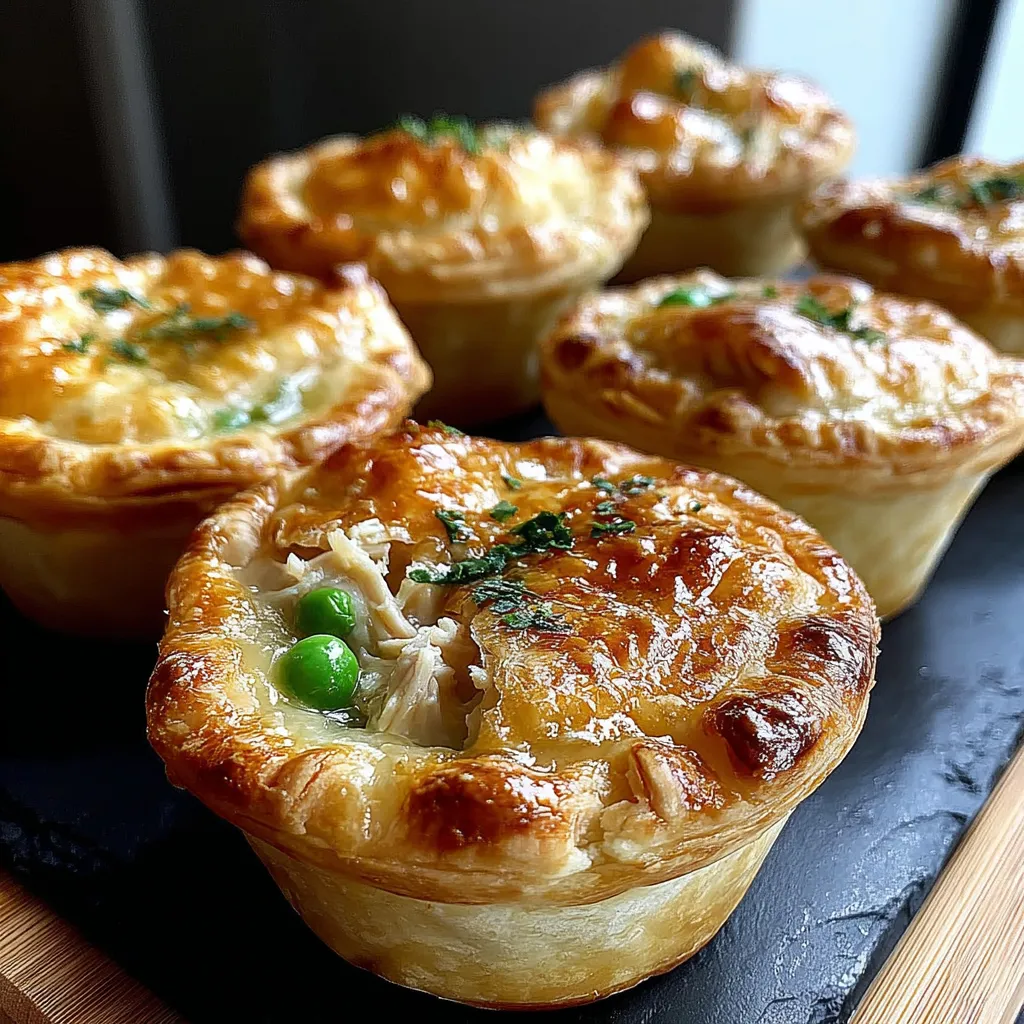
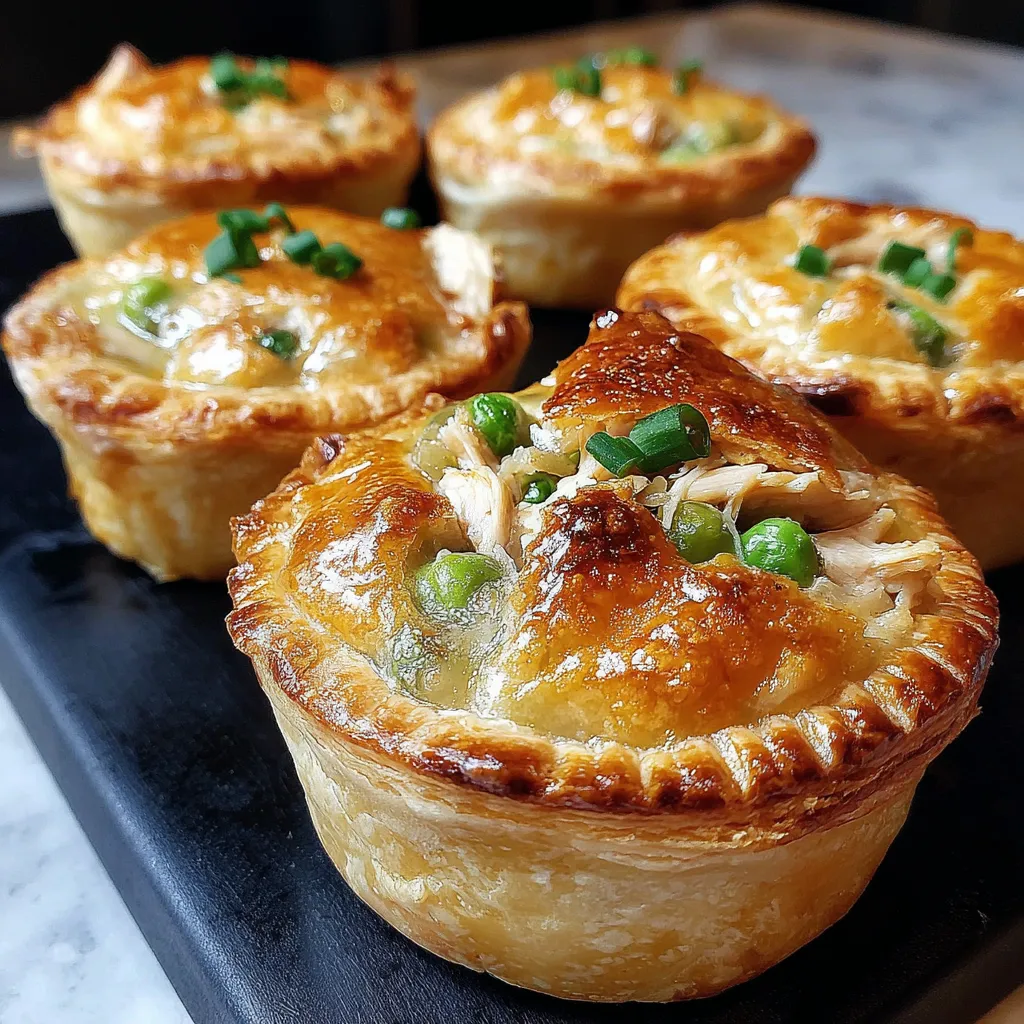
These mini chicken pot pies transform ordinary dinner nights into special occasions with their golden, flaky crusts and rich, savory filling. I've been making these for years whenever we need that perfect combination of convenience and comfort food that satisfies the whole family.
I first created these mini pot pies when hosting a dinner party where I needed an elegant yet hearty main course. Now they're requested at nearly every family gathering, and my nieces and nephews always fight over who gets the last one.
Ingredients
- Boneless skinless chicken breasts about 1 pound of tender meat that forms the protein base of your pies
- Frozen mixed vegetables a convenient time saver that brings color and nutrition to your filling
- Unsalted butter creates the foundation for a rich roux and allows you to control the saltiness
- All purpose flour the thickening agent that gives your filling that perfect creamy consistency
- Low sodium chicken broth adds depth of flavor without making the pies too salty
- Heavy cream provides luxurious richness and creates that classic pot pie texture
- Puff pastry sheets the secret to an incredibly flaky crust with minimal effort
- Salt pepper and thyme the essential seasoning trio that enhances all the flavors
Step-by-Step Instructions
- Prepare Your Oven
- Preheat your oven to 400°F. This higher temperature is crucial for creating that beautiful golden crust while ensuring the filling heats thoroughly. Take this time to lightly grease your muffin tins to prevent sticking.
- Cook The Chicken
- In a large skillet melt butter over medium heat until it begins to bubble slightly. Add your diced chicken pieces ensuring they're cut into small uniform pieces about half inch cubes. Cook until the chicken develops a golden brown exterior while remaining juicy inside approximately 8 minutes. The caramelization adds significant flavor to your filling.
- Add Vegetables
- Add the frozen mixed vegetables directly to the chicken mixture. The residual heat will thaw and warm them perfectly. Stir constantly for about 2 minutes until the vegetables are heated through but still maintain their vibrant colors and slight firmness.
- Create The Sauce
- Sprinkle flour evenly over the chicken and vegetable mixture being careful to avoid clumping. Stir continuously for 1 minute to cook out the raw flour taste. Gradually pour in the chicken broth about a quarter cup at a time whisking constantly to create a smooth sauce. This slow addition prevents lumps from forming. Continue to simmer and stir until the mixture thickens enough to coat the back of a spoon about 5 minutes.
- Finish The Filling
- Pour in the heavy cream while stirring and add thyme salt and pepper to taste. The mixture should be creamy but thick enough to hold its shape in the pastry. Remove from heat and allow to cool slightly for about 5 minutes which helps prevent the pastry from becoming soggy.
- Prepare The Pastry
- Roll out the puff pastry sheets on a lightly floured surface to about 1/8 inch thickness. Using a round cutter or tracing around a bowl cut circles about 1 inch larger than your muffin tin cavities. Gently press these circles into the muffin tins allowing the excess to hang over the edges.
- Fill And Top
- Spoon the chicken mixture into each pastry lined cup filling to just below the rim. Either fold the excess pastry over the top to create a rustic look or cut smaller circles to create proper lids. If using lids press the edges gently to seal and cut a small vent in the top to allow steam to escape.
- Bake To Perfection
- Place the muffin tin in the preheated oven and bake for 20 to 25 minutes. Look for a deeply golden brown crust and filling that bubbles slightly through the vents. The pastry should be puffed and flaky with visible layers.
 Bookmark
The thyme in this recipe is truly the unsung hero. I grow fresh thyme in my kitchen garden specifically for these pot pies, and the difference between dried and fresh is remarkable. My grandmother always said a good pot pie needs three things a flaky crust, a silky filling, and the earthy brightness of thyme to tie it all together.
Make Ahead Options
These mini chicken pot pies are perfect for busy weeknight planning. You can prepare the filling up to three days in advance and store it in an airtight container in the refrigerator. When ready to bake simply bring the filling to room temperature before adding it to your pastry. For even more convenience assemble the entire pies but freeze them unbaked. Place them in the muffin tin until solid then transfer to freezer bags. When ready to enjoy bake straight from frozen adding about 10 minutes to the cooking time and covering with foil for the first half of baking.
Versatile Variations
This recipe welcomes creative adaptations based on your preferences or what you have available. For a twist try using leftover holiday turkey instead of chicken. Root vegetables like parsnips or sweet potatoes add a wonderful seasonal touch in place of traditional mixed vegetables. For a richer flavor incorporate a tablespoon of dijon mustard or a splash of white wine into the sauce. Vegetarians can substitute mushrooms for the chicken creating an equally satisfying meal with a meaty texture and earthy flavor profile.
Serving Suggestions
These mini pot pies shine as the star of your meal but pair beautifully with simple sides. A crisp green salad dressed with a light vinaigrette provides the perfect contrast to the rich pies. For a special occasion serve alongside cranberry sauce for a delightful sweet tart complement. These pot pies also make excellent appetizers when made in mini muffin tins just reduce the baking time accordingly. For a beautiful presentation sprinkle the tops with flaky sea salt or additional fresh herbs just before serving.
The History Behind The Dish
Pot pies have been comforting hungry families for centuries dating back to the Roman Empire where they enclosed meats in a crust made of oils and flour. By the 16th century pot pies became popular throughout Europe particularly in England where they were filled with game birds and called coffyns referring to their container like appearance. Early American settlers adapted these recipes using whatever ingredients were available often creating a one dish meal that stretched limited resources. The mini version we enjoy today combines this rich history with modern convenience perfect for our busy lives while still delivering that timeless comfort food experience.
Recipe Q&A
- → Can I make these mini chicken pot pies ahead of time?
Yes! You can prepare the filling up to 2 days ahead and store it in the refrigerator. You can also assemble the pies completely, then freeze them unbaked. When ready to serve, bake frozen pies at 400°F for about 30-35 minutes until golden and bubbly.
- → What can I use instead of puff pastry?
Refrigerated pie crust or homemade pie dough works well as an alternative to puff pastry. You can also try using biscuit dough or crescent roll dough for a different texture and flavor profile.
- → How do I store and reheat leftover mini pot pies?
Store cooled pot pies in an airtight container in the refrigerator for up to 3 days. Reheat in a 350°F oven for 10-15 minutes until warmed through. You can also microwave them, but the pastry won't be as crisp.
- → Can I use rotisserie chicken instead of cooking raw chicken?
Absolutely! Using shredded rotisserie chicken is a fantastic time-saver. Simply skip the chicken cooking step and add the shredded rotisserie chicken when you would normally add the cooked chicken to the vegetable mixture.
- → How can I make these mini chicken pot pies vegetarian?
For a vegetarian version, omit the chicken and substitute with additional vegetables like mushrooms, potatoes, or butternut squash. Use vegetable broth instead of chicken broth, and consider adding some protein with white beans or chickpeas.
- → Can I make these without dairy?
Yes, you can substitute the butter with olive oil or plant-based butter, and replace the heavy cream with full-fat coconut milk or a non-dairy creamer. The filling might have a slightly different flavor but will still be delicious and creamy.